Why you must have a menu on your restaurant website

Building a Restaurant Website using Go Sitebuilder

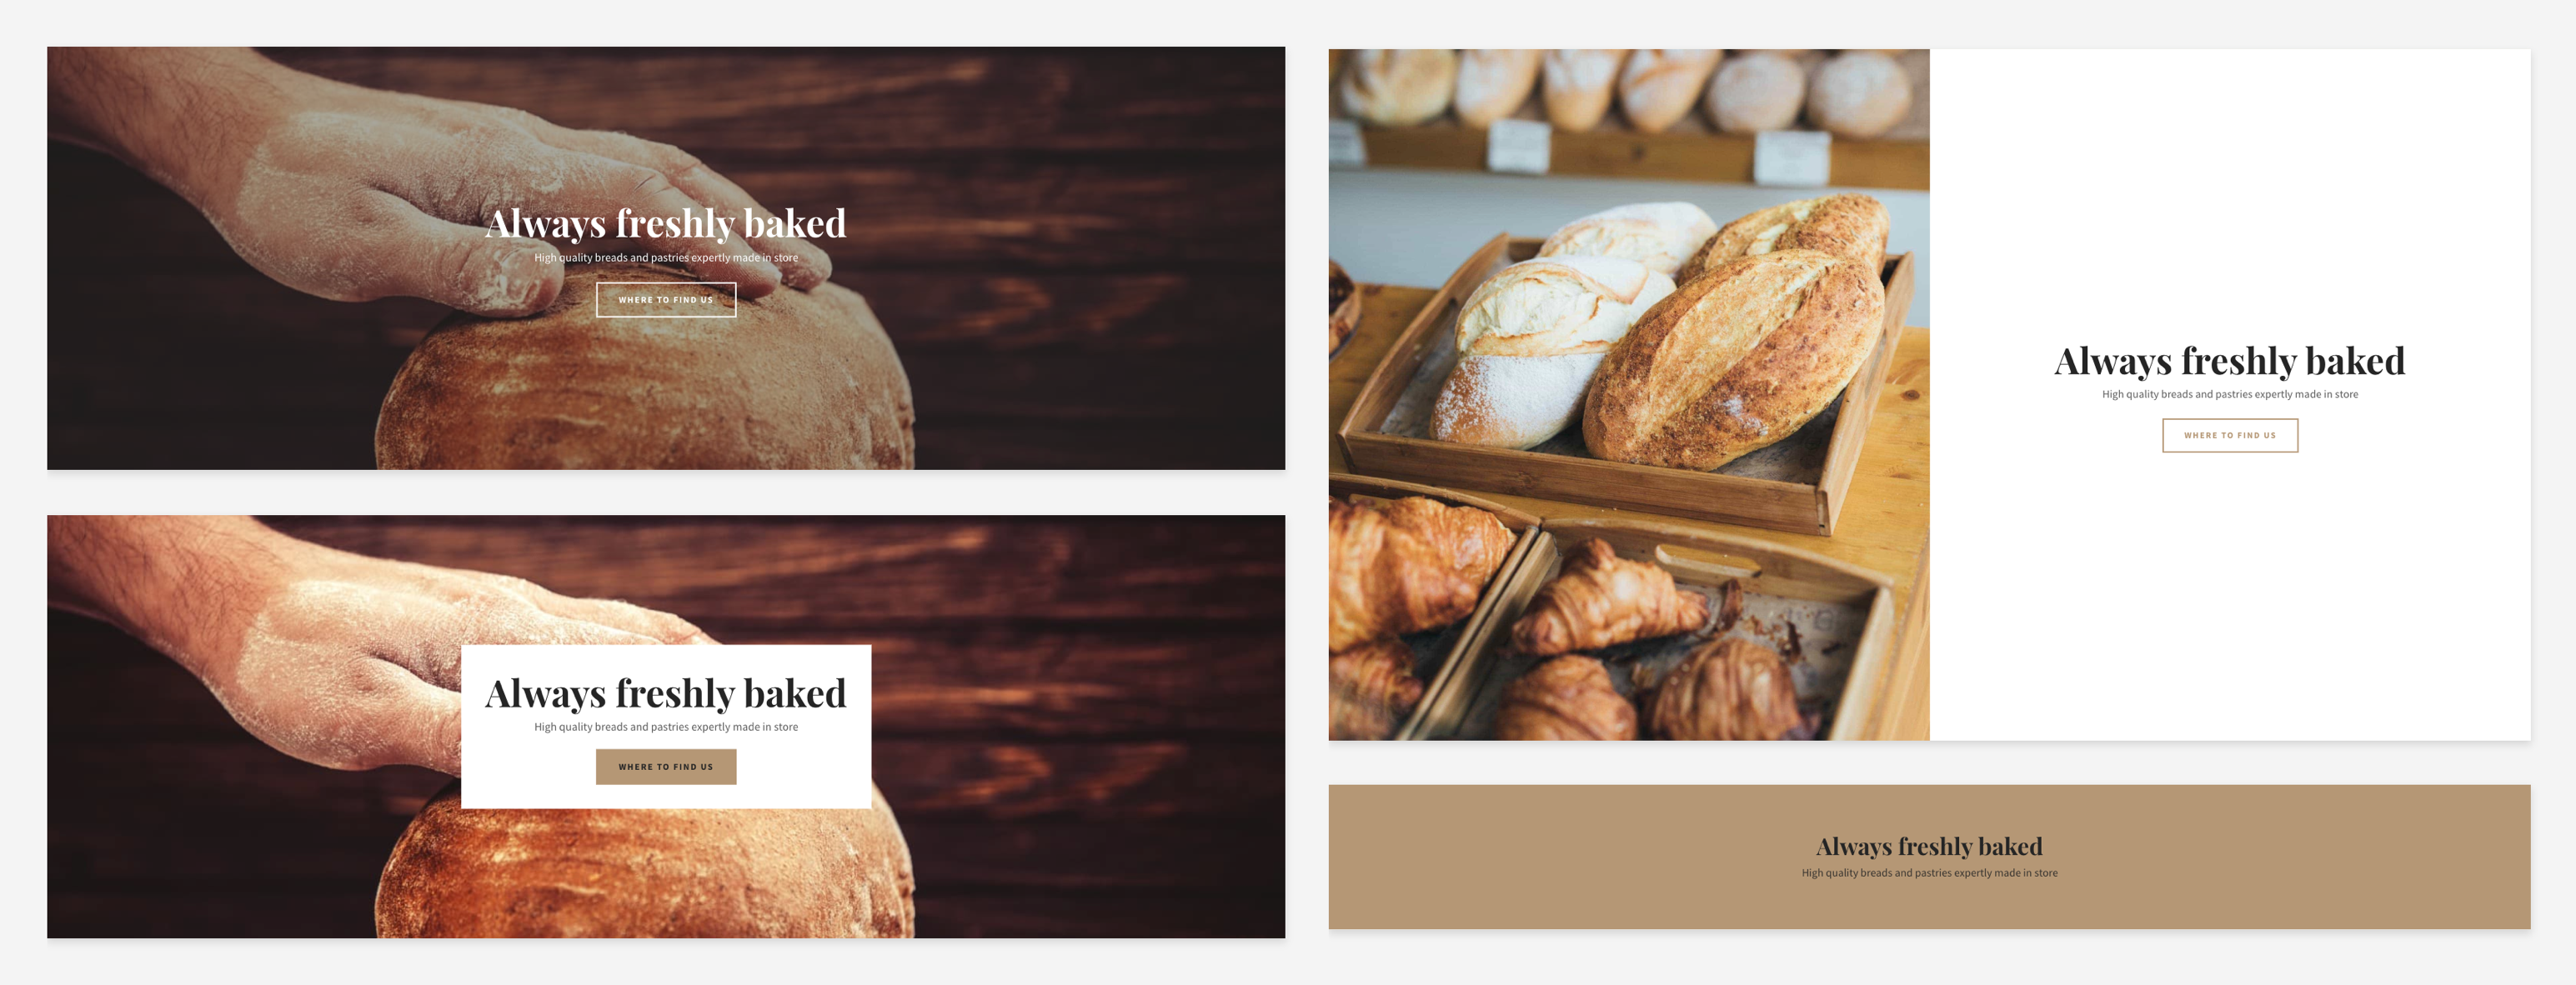
Many people consult a restaurant website first before deciding to book a table. It encourages people to book a table at your restaurant over others and attracts people to your website and establishment. For this reason, getting your site spot-on is crucial to winning potential customers over to visit your eatery. While there are plenty of elements that go a long way to ensure your restaurant website hits the right mark, including menus on your site is especially important.

Showcase what you’ve got to offer

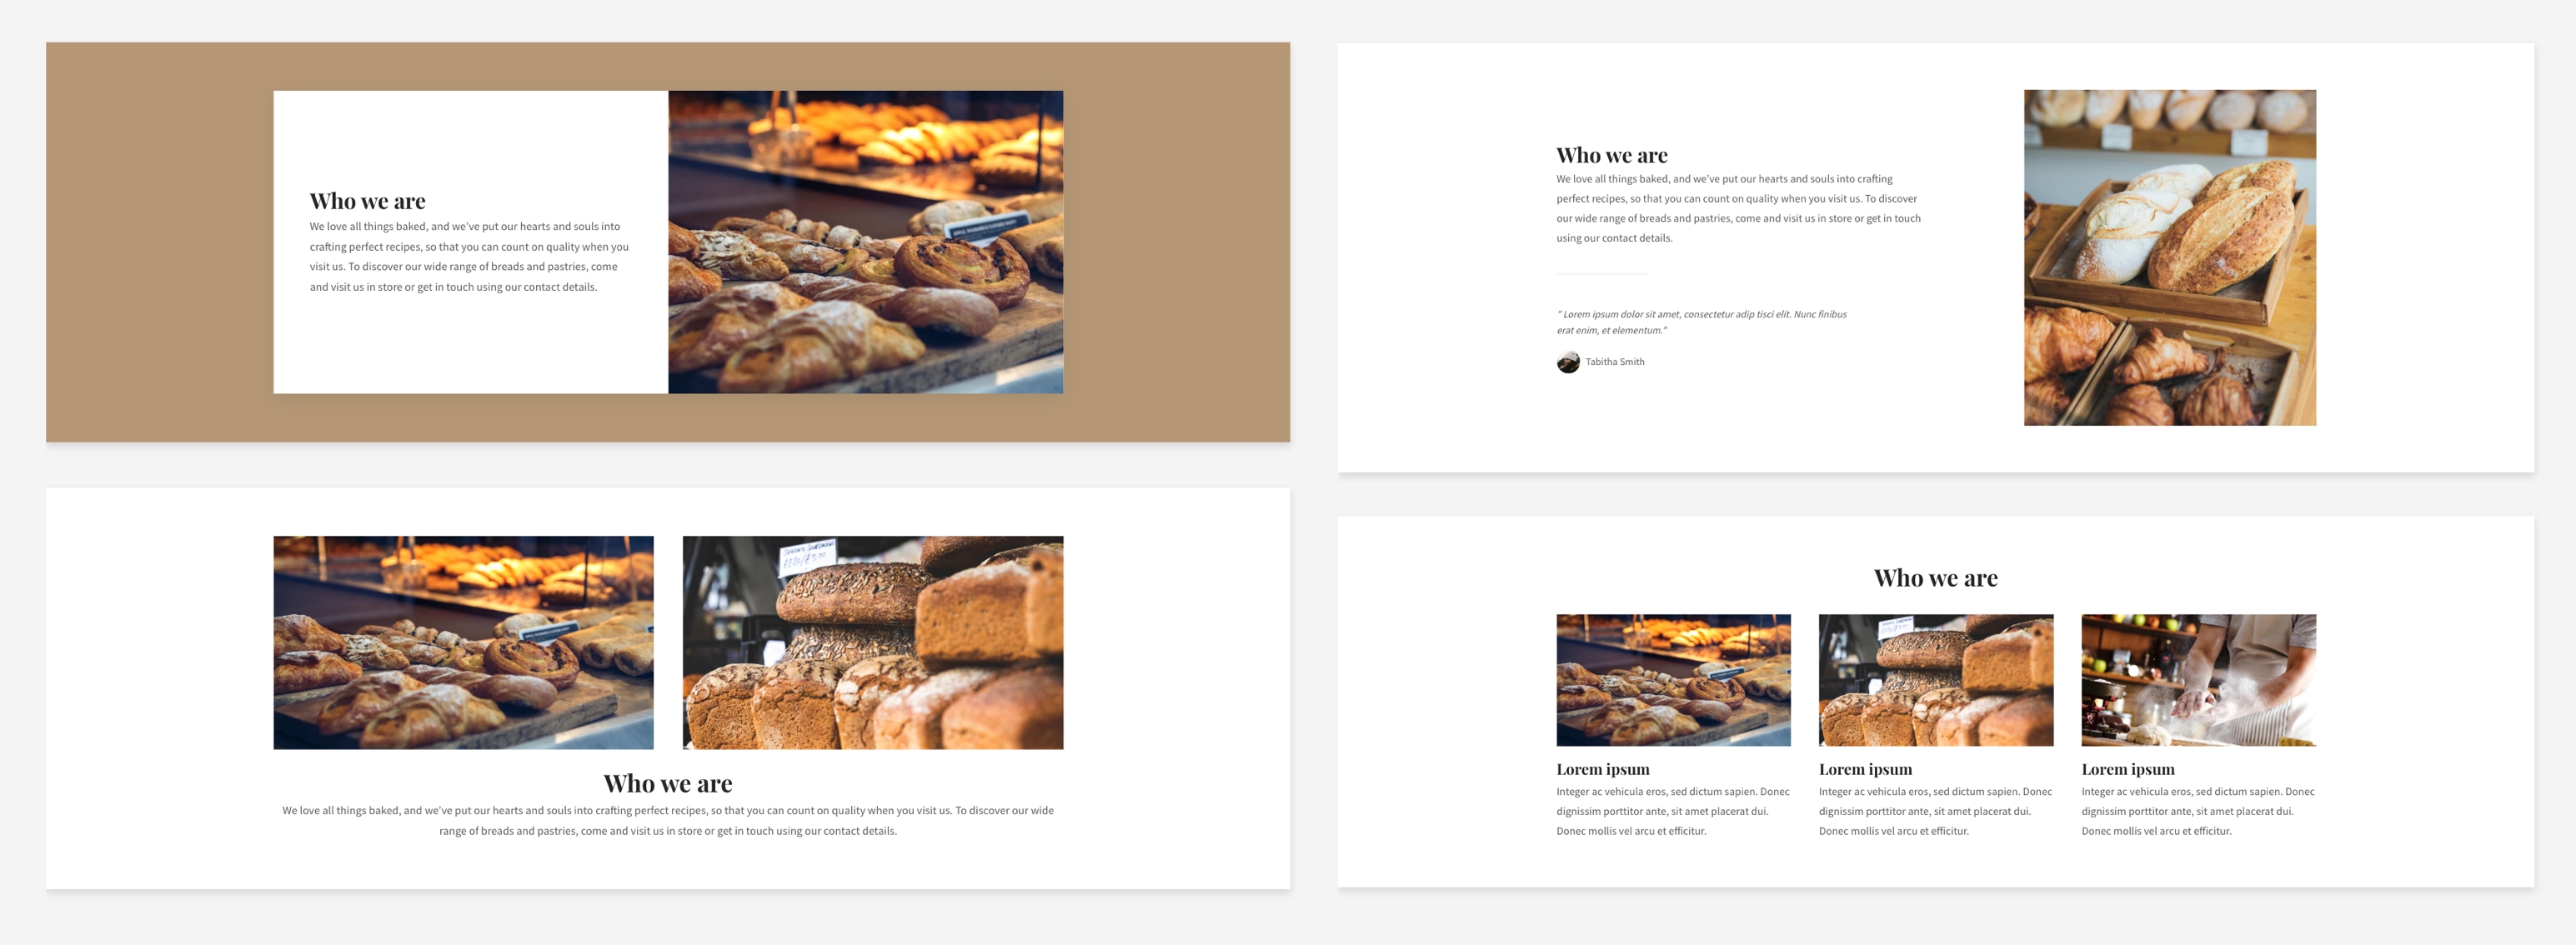
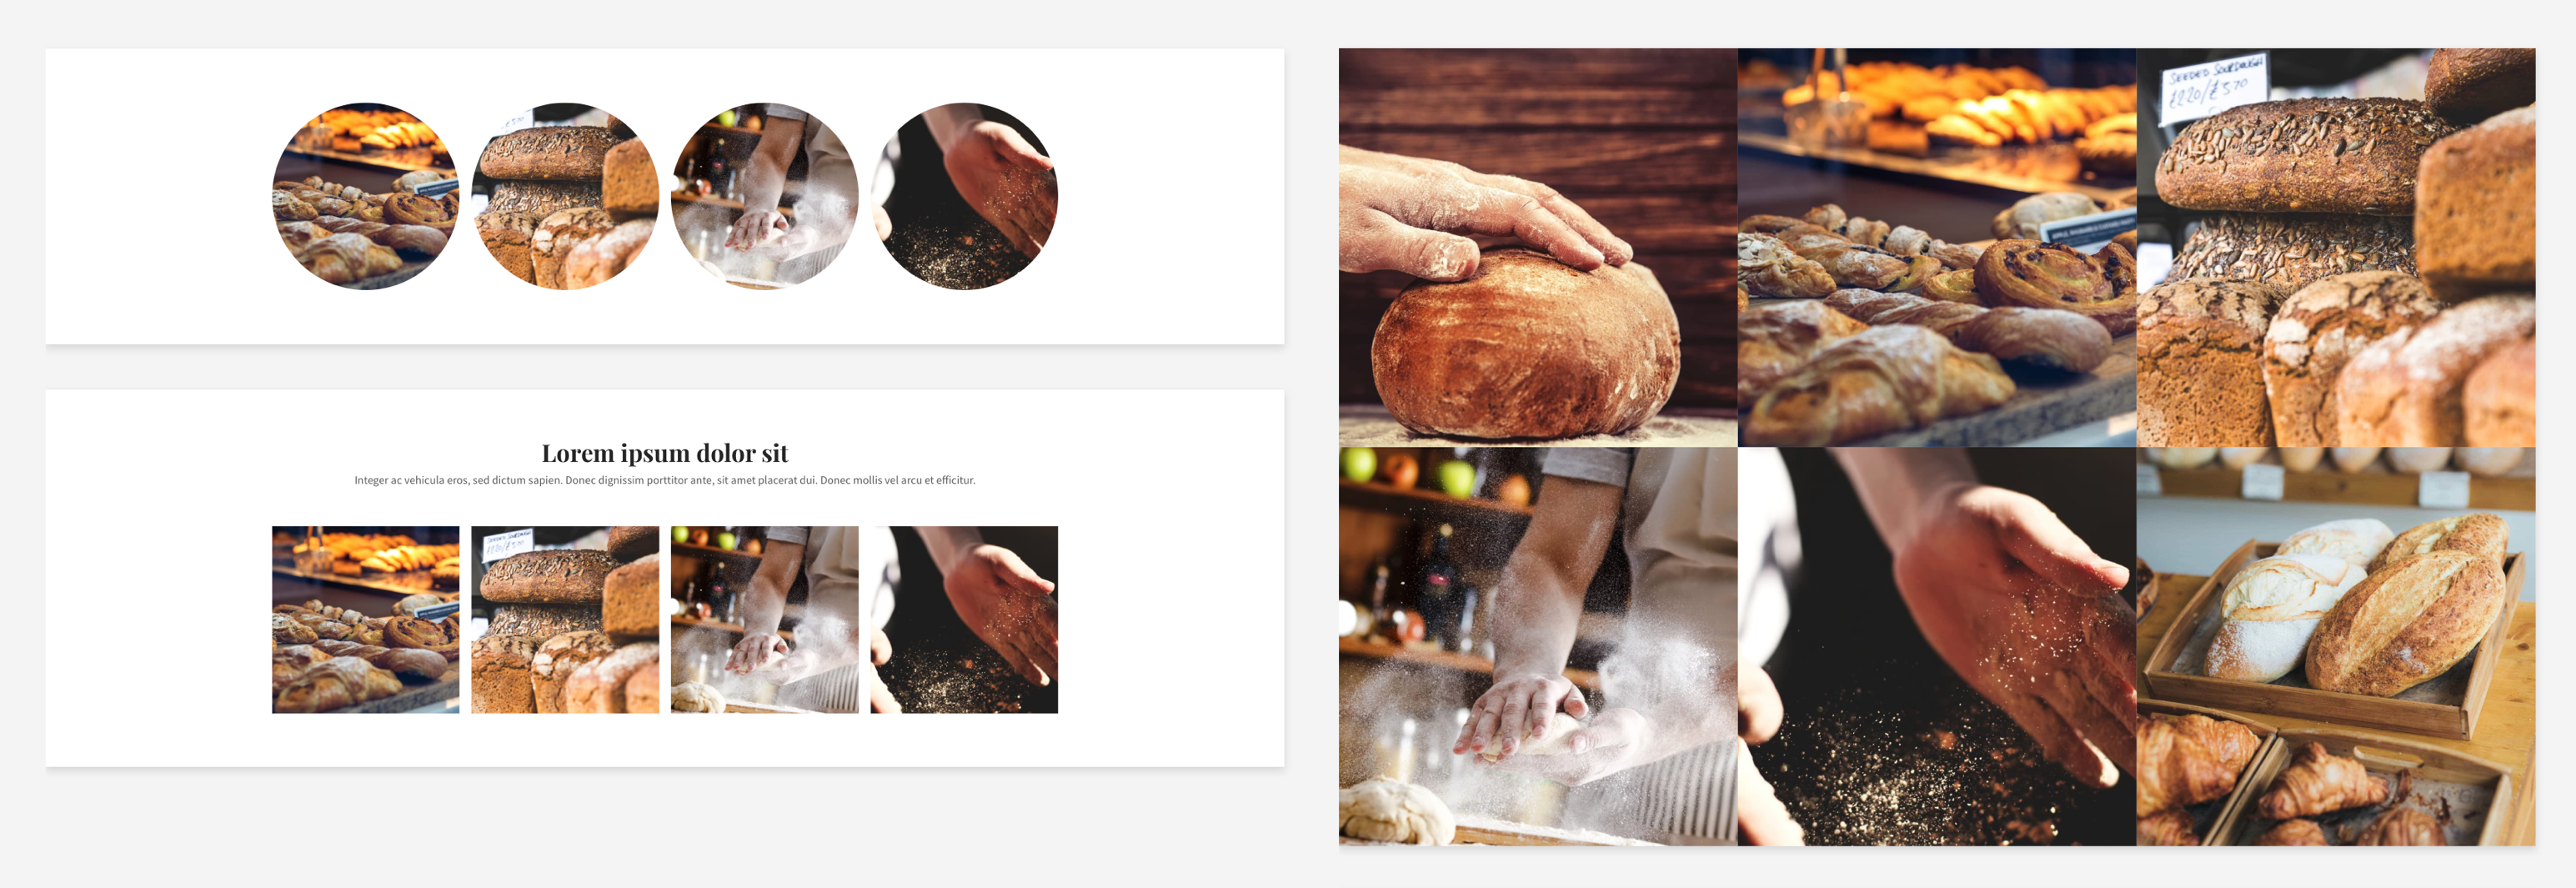
Including menus on your website, whether as downloadable pages or within their own sections showcases what your restaurant has to offer. Your menus are your number one selling point, so without them, new customers won’t know what to expect. Many people also choose a restaurant based on price, so having your menus easily visible lets would-be customers know if the food you offer is within their intended price range. Your menus will also give a clue as to the kind of ambience or experience diners might expect, from casual meals to more formal, a la carte dining. This might be reflected in the type of food being served as well as the offers available. It’s also worthwhile including a gallery section on your site with images of some of the dishes off your menu, to whet customers’ appetites.

Catering for every taste

Lots of people have special dietary requirements, so providing your menus online lets people see what you offer to cater to different needs and tastes. It’s a good idea to include any relevant symbols next to dishes to denote any dietary options, such as gluten-free or vegetarian. If you cater to youngsters, don’t forget to include a children’s menu.

Easy to view

Since restaurant menus play such a big role in customer decision-making, when including yours on your site, ensure that they’re easy to find and access. If you add downloadable PDF menus, they should be fast to open, as well as properly configured for easy viewing on mobile devices.

Keep menus current

Having menus included on your site makes for a worthwhile opportunity to keep customers updated on any offers you have on or any new dishes. Keep your menus current, so that customers who visit your premises know what to expect. You’re unlikely to get the thumbs up from diners if you increase your prices or drastically change your dishes without reflecting these alterations on your advertised website menus. It’s also not good business to still be promoting your Christmas menu online when it’s almost Easter. Bear in mind that search engines rank sites higher that keep their content fresh and up to date.

If you’re looking for a new website for your restaurant check out Go Sitebuilder today! Get started for free and join over 9 million people already growing their business with Go Sitebuilder.


Four tips to help you turn your side job into your career

Side hustle tips

With the advent of the internet has come a whole universe of possibilities when it comes to business. In fact, more people than ever now have internet-based businesses, or “side hustles”, to boost their monthly income. If you’re one of these people, you probably want to turn your side job into your career at some point – but how do you do that? Here are some quick tips on turning your side-hustle into your full-time career.

Tip 1: Don’t make the change until you can afford to

One of the biggest mistakes people make when transitioning from full-time employment to self-employment is moving too fast, and there’s no need to rush. At the minimum, you want to be able to bring in the same amount, after-tax, as you do per month with your main hustle. Once you reach this figure, you’ll be in a great position to make the move.

Tip 2: Find the time for your side hustle

Another vital step when trying to make the jump to full-time self-employment is to dedicate some time aside to work on it. Putting time aside to manage your project is very important. Although, most of the time it won’t even feel like work when it’s something you love! 

Tip 3: Leverage the power of digital marketing

Another key to hitting the ground running with a new full-time gig is to be as established as possible when you go solo. The more clients you have, the more content you have on your website, and the more online visibility you have will be key factors in ensuring your new main gig can survive in the long term. Having a rock-solid website for your new business is the cornerstone to success in today’s digital world.

Tip 4: Don’t spread yourself too thin too soon

When you’re making this transition, you’ll essentially be working two jobs, meaning your time will be at a premium. This means that the time you spend on your side gig needs to be focused on quality. Your first few projects will be the starting ground for your business. This means you’ll need to be creating great material and maintaining healthy relationships with your client – in return getting amazing recommendations and excellent examples of the work you can do. Maintain focus, and keep it directed toward the best quality client you can find – and most importantly, don’t take on too much! It’s important you focus on maintaining your work/life balance.

If you’re ready to take your side-business to the next level with a beautiful website, try out Go Sitebuilder for free today – and see how far you could go.

Starting a hypnotherapy business

Starting a hypnotherapy business

Hypnotherapy is a life-changing form of therapy. It uses specialised techniques to help patients find the root of their anxieties and curb any unwanted impulses. If you want to start a hypnotherapy business as a guiding light to clients, then these are some pointers you should consider.

Draw attention to specific practices

People will have certain grievances that they want help with. Some of the most common issues include weight loss, smoking and sleep. Don’t just offer hypnotherapy as an umbrella practice. Talk about all the issues people might want help to demonstrate the specifics of your capabilities. If you focus on a particular specialism, for example, smoking addiction, you need to explain all the ways you can support an individual.

Gather testimonials

When you initially open your business, the most basic signs of your professionalism will be your credentials. But as you help more patients, you’ll have success stories to tell. As such, you’ll want to start gathering customer testimonials in which patients describe how their lives have been enriched by your treatment. Positive feedback can be what makes you stand out of the crowd, especially if you have competitors offering very similar services.

Offer discounts

Like any good business, everyone loves a bargain, so don’t be afraid to offer discounts. Encourage your existing client base to recommend other people to come to your practice by offering discounted sessions and free content. When your business is in its early stages, word of mouth is going to be the most powerful tool in getting your name out there.

Establish an online presence

Any business that wants to make a name for itself is expected to have some online presence. The best way to do so is with keywords relating specifically to your business that will improve your rankings in the search engines and of course, using the likes of Facebook, Twitter and Instagram so that audiences will get the message not just of what you’re offering, but who you are. This is an opportunity to build up your brand identity and separate yourself from the competition.

Establish yourself within the medical community

Wherever your practice is based, there will be healthcare professionals located near you. You should look at making yourself known to them. Imagine a patient checking out a medical directory and running across your name, then talking to the community and finding more positive information about you and your services.

If you’re looking for more inspiration on starting a hypnotherapy business check out our case study with Polly Evans, and see how she’s making her hypnotherapy business a success with Go Sitebuilder.


Since its humble beginnings, Go Sitebuilder has built up a dedicated following to benefit many up-and-coming entrepreneurs. If you want your own website and online presence, start your free trial – there’s no credit card required!

How do you create an online store from scratch

Creating an online store from scratch

Selling online has never been easier. There are numerous routes to market that will allow you to have a successful and profitable career as an eCommerce business owner. To be successful, you need to start a store from scratch and for this, you need to think carefully. The more planning you do, the better it is for your business. So, here are a few quick steps for you to consider when starting your online store.

Choose a niche

The first thing you need to do is to select a niche market that you would like to sell into. This will have to align with the product you’re creating as well. It has to be something that you’re passionate about. Something that you could talk about all day. The more passion you have for your product, the easier it will be for you to sell it.

Choose the products

Some niches will have a wider selection than others. Or you might have developed your own products. It is important to aim for a profit margin of between 40-70% with the higher amount being better. Be sure to benchmark your pricing against your competitors to ensure you’re not overcharging. For instance, if you’re selling a product for £20 but everyone else is selling it for £10, then you might struggle to find customers.

Buy your domain

Next, you need to buy a domain name. This should be something that resembles the branding for your store, allowing you to build long-term relationships with customers. Having a domain name that represents your brand efficiently will help you with your marketing and in most cases is very cost-effective. Connect your domain/brand name to something that is meaningful. For instance, if you sell teddy bears, having this in the name or something to do with cuddles could be important. Go Sitebuilder offers a free domain name with every subscription.

Build your website

The next step is to build your website. You want to create several pages including pages for home, about, contact, terms and conditions, delivery and more. Building a website is very easy and you can get started for free with Go Sitebuilder.
Your website should be optimised for search engines and conversions to help you generate more revenue. However, you shouldn’t expect success straight away. While search engines may have some restrictions for new businesses within the first 6 months, this will allow you to put some time into other important areas such as perfecting your storefront and building out your launch plan.

Add your products

Now you need to add products. Products should have a great description and lots of high-quality images and videos to help them sell. You should also concentrate on writing descriptions that sell the benefits and not the features of your products.
Finally, always include a call-to-action in your product descriptions, encouraging visitors to buy your items.

Building a new eCommerce store is easy, especially with Go Sitebuilder. Discover how you can create an online store today for as little as the cost of a coffee a week.

Three must-have features for any beauty salon website

Three must-have features for any beauty salon website

Beauty is big business, but in this competitive field, standing out from your rivals is vital if you want your beauty salon to succeed. Having an eye-catching website that is informative, useful and easy to navigate are essential starting points for any beauty business owner. But, as a beauty salon business, you should also include these three must-have features if you want your site to enjoy a high search engine ranking.

1. Quality images

Beauty is inherently visual, so if you want to attract clients to your site, you need to include images of your products or the services that you provide. Never include stock photos on your site, but instead take real shots of work you’ve undertaken on clients’ nails, hair, make-up, eyebrows, or whatever is relevant to your line of work.

Pictures certainly say more than words in the beauty industry, so make sure the images you include are of high quality and aren’t grainy or fuzzy. If you specialise in nails, take close up shots and think about including images from different angles. Update your images regularly to keep your content fresh and to stay on top of the latest beauty trends. Search engines also favour those websites that keep their site current.

2. Testimonials

Add reviews from satisfied clients to your website to give your brand a credibility boost. This is also a positive way to encourage people to try your services if they may have been reluctant before or don’t know what to expect. If you offer a range of services at your salon, include reviews covering this variety of offerings, from a wide sector of customers. Again, it’s worth keeping this section current, so update your reviews frequently so that your site doesn’t become stale.

3. Online booking

Unless you can afford to hire a dedicated receptionist to take bookings, many beauty salon staff find they need to juggle working on clients and answering the phone at the same time. Alternatively, if therapists are busy, they might leave the answering machine to catch any incoming calls. This isn’t ideal, and many beauty salons might end up losing business if clients can’t book an appointment there and then.

This is where your website can come in handy. If you include an online appointment booking section on your site, this will make life so much easier for you and your clients. It means appointments can be made even when the salon is closed or you’re busy with another client.

Apps can be easily embedded into your site to include a calendar and booking system, and while clients are visiting your site, you can use this opportunity to promote other services or offers you might have at the time.

If you’re looking to create a website for your beauty room or hair salon check out Go Sitebuilder for free and see just how easy it is to get your business online.

Small business case study: Polly Evans Hypnotherapy

We love small businesses, and we love hearing from our small business customers! We’ve been sitting down with some of them lately to hear about their experiences with Go Sitebuilder so that we can keep improving and giving you what you need. Sometimes having a little insight into someone else’s experience with a product can make all the difference to people looking to use it themselves, so we’re sharing the first of our case studies with you here! Without further ado, meet Polly Evans, a Bristol-based hypnotherapist and proud owner of a Go Sitebuilder website:

Background 

Polly is a newly qualified hypnotherapist based in Bristol, England (our hometown!). After experiencing the benefits of hypnotherapy first hand, she decided she wanted to help others and took the exciting step of starting up her own hypnotherapy clinic. Clifton Practice Hypnotherapy Training (CPHT), where Polly gained her qualification, helped her set up her business. One of the things they suggested she invest her time in was a website (find out why a website is so important here!). It was especially important for her to have a website, as her audience is often comprised of people struggling with personal or mental health issues. These people may not want to call her or send an enquiry straight away, and so often want a way to get to know a therapist before taking these steps – a website gives them just that.

Finding Go Sitebuilder

Like many small business owners when they get started, Polly wasn’t technically savvy and was very limited on budget. She knew she needed a domain name so she purchased one online. The company she bought it from suggested a free trial of their website builder but Polly couldn’t quite get to grips with its interface. Fortunately, a friend recommended Go Sitebuilder and after a 14-day free trial, Polly decided to upgrade to a Go Premium subscription.

Getting started

Polly already had content, as CPHT had helped her with this. If you don’t already have content lined up, don’t worry! You can head to our blog to find out which key pages and information you need.

Understandably, with all the admin associated with setting up a small business, she hadn’t yet had a chance to think about imagery and branding. Fortunately, Go Sitebuilder’s onboarding meant that she could get pre-selected text and imagery to match her business in just a few clicks. It was easy to then carry the same theme throughout her website. She even used it as the basis for her business cards and posters!

“I changed the images by using the stock image library but I’ve actually kept some of the original text as I really liked it!” 

Expanding the website 

Polly started building her website on a friend’s laptop. Once she was happy with the way the website was beginning to look, she started to log in via her iPad to update her website on the go. Using Go Sitebuilder on her iPad and mobile phone, she has been able to add pricing and testimonial pages to her website. She knows she will be able to easily add more pages as and when she needs to.

“I don’t have an office as such and I haven’t owned a computer for a few years. I manage the rest of my business via my iPad so it’s been ideal to update my website from there too!”

Getting results

Once her website was live, Polly wanted to share it with the world. She used social media and Google Ads to get started, spending around £40 on Google Smart ads  and receiving around £500 back in client bookings. With a mixture of social media, ads and organic searches driving people to her website, she keeps her appointment slots booked out and is able to concentrate on her clients – leaving her website to do all the work!

In the future

Polly is planning to start a blog on her website. She wants to be able to share free information to help and support new and existing clients, and continue to build trust around her business. With any luck, the blog will attract more people to her website, build awareness and grow her client base.

As well as her website, Polly is also planning to grow her business. She is currently looking for a new clinic in a more central part of Bristol as she is steadily outgrowing the clinic she originally built at home – partly thanks to her website bringing in business!

To check out Polly’s website, head here, or try Go Sitebuilder for free here!

A guide to website sections

Website building entrepreneur

With sections, it’s easier than ever to create your own website. But what is a section? And what are all the different sections for? In short, a section is a pre-made building block, and you can use them in any combination to create your website. They’re all customisable, so you still have the freedom to make your website your own, but we’ve done some of the legwork for you! To make things even simpler, we’ve created a guide to the different types of sections we offer:

Hero

Hero section

The hero section is just as important as it sounds! It’s generally the biggest, most impactful thing people will see when they first enter your website, so it should contain key information, such as your company name, a short strapline and the most relevant call-to-action buttons, such as ‘Shop now’ or ‘Contact’.

Image and text

Image and text

This one does what it says on the tin – it allows you to add an image/text combination. This is great for when you want to show an image of what you’re writing about, or just for keeping a page visually engaging. If it’s the latter you’re aiming for and you don’t have a specific image in mind, this is a great place to make use of our stock image library.

Text

Text

This category covers many types of text, from paragraphs to headers and more, allowing you to really add personality to your website. Whenever you want to add some text by itself, this is the section you’ll need. You can customise it completely, from font to layout, and – most importantly – content! Take a look at guides like this for more advice on creating great content. 

Image

As with the text section, this is for when you want to add an image by itself. This could be a photo of your products on your homepage, a photo of you on the ‘About’ page or a (relevant) stock image to break things up. Studies show that images are a great way to keep things engaging, so image sections will allow you to do just that.

Gallery and slideshow

Gallery and slideshow

Especially good for showing off products or behind-the-scenes action, we have a range of different gallery and slideshow sections, so you can choose your favourite eye-catching display format.

Form

A great way to keep people updated and engaged is to create a mailing list. Putting a simple signup form on every page will allow them to add their email address in seconds. You can also add a larger form, allowing people to contact you with questions.

Contact

Contact map

You can provide as much or as little information as you like with a contact section. If you have a bricks-and-mortar location, the map feature will help people to find you, while email address, phone number and an additional contact form can all provide easy ways for people to get in touch.

Promotional

Highlight your store, products or special offers with promotional sections placed anywhere on your website. This is a great way to grab people’s attention while they’re browsing!

Social

Social media and a website are best when used together. Make sure people can find your social media easily with social sections. You can also use this to link to reviews on sites like Yelp.

Page title

As you might guess, this section lets you name each page. It almost always makes sense to have this at or near the top of your website. You can easily customise the fonts and colours here to go with the rest of your website and branding.

Video and audio

Video and audio

Using video on a landing page can increase conversion rates by a massive 80%. Easily include videos, with or without an introduction. If you have a YouTube channel, you can include your latest videos, or you can include a video of your products in action to show them off in your store.

Files

Anything people need to download from your website, from forms to instruction guides, can be included in this style of section. You can either put it right after the mention of a file or throughout the website to encourage people to access it.

Embed

If you have any code you want to include to add custom features or third-party services (like SoundCloud or booking forms) to your website, this is the section you can use. As with other sections, it can be placed wherever you want. The possibilities are endless!

Logos

Logos

Include logos anywhere on your website to show off partnerships, products you use or companies you’ve worked with. This is a great way to build trust!

Store

If you have an online store on your website, sales-boosting sections can make all the difference. Featured products and ‘basket’ sections are a great way to get people engaged and to turn visitors into customers! It’s often a good idea to place these at the top for easy access, but you can experiment with different placements and see what works best for you.

PayPal

Our PayPal sections make it really easy for your customers to purchase from your store. With different design options, you can make these sections fit in with your website’s overall look.

Blog

Feature your latest blog posts anywhere on your website to capture people’s attention while they browse, so they never miss an update.

So there you have it: a guide to all the sections you need to create your perfect website! We’re always listening to feedback and adding exciting new things to our website builder, so we’ll be sure to keep this guide updated as this happens. If you haven’t created your website yet, why not try a free trial? Happy sitebuilding!

How to make your side hustle work

Side hustle small business

What is a side hustle?

You may have heard this phrase making the rounds lately – unsurprisingly, as more and more people are starting side hustles. If so, you’d be forgiven for not knowing exactly what it is! In reality, it’s pretty simple: any business running alongside a job or main business counts as a side hustle. 

For some people, a side hustle can be a useful supplement to a main role, while for others a conventional job may actually end up coming second. For these people, the side hustle might be their passion, and the thing they spend most of their time doing, but a more ‘traditional’ job might be what allows them to pay the bills – even just a few days a week.

How do you make a side hustle successful?

Just like the time-old question of ‘what makes a business successful?’, there’s no easy answer to this one. Generally speaking, the amount of time you put into anything will be reflected by how much you get out of it. This might be totally fine by you! This is the beauty of a side hustle: it can be as big – or as small – a part of life as you want it to be. 

Once you’ve decided how much you want to get out of your side hustle, however, there are a few things you can do to maximise your chances of success (and of being able to continue hustling):

Test it out
Before you do much at all, it’s a good idea to test your idea out on friends and family. Even business masterminds like Richard Branson sometimes need a fresh pair of eyes to make them see their idea differently! You’re already working, so you don’t want to waste any of your valuable spare time on something inherently flawed. Letting other people try out your product will give them a chance to give you feedback in a non-pressured environment, so you can iron out any kinks early on and save yourself time in the future.

Don’t give up (on) your day job
You’re starting a side hustle for a reason, so make sure it stays just that – at least for now. Don’t stop putting any effort into your day job, even if your priorities have shifted. Your reasons for doing this alongside your job still stand, whether they’re financial or personal, so you definitely don’t want to alienate your employers or start delivering sub-par work; this will benefit nobody! Be respectful of your employers and colleagues, as well as the importance of what your job gives you, and work on your side hustle when you can.

Don’t forget your own wellbeing
We’re big believers in work-life balance and the importance of not letting your work ruin your life – whatever it may be. There’s a real danger of becoming overworked when you have a side hustle, so it’s more important than ever to set parameters around your working patterns. Use the time you have wisely, but don’t feel you have to spend every spare minute working on it, or you’ll likely burn out. If you burn out, you’re less likely to be able to maintain your side hustle anyway, so it would all be for nothing!

Invest in the important things
Just as it’s important to take care of your wellbeing, it’s also important to take care of your bank account. It’s unwise to pour all your money from one job straight into another! Think about what will help you the most, and spend your money there. Is it a website, for visibility and legitimacy? Is it a physical workspace? Whatever it is, make sure it’s worthy of your hard-earned money!

Get the tools you need
Some of the things you invest in should make your life easier and give you the best chance of success. Technology can be essential for side hustlers: a website, for example, will give you a way to share your products with the world. A website with an online store included will let you make sales straight away, while an included domain name and email address will take you right from hobbyist to professional in one fell swoop! Try to find as many all-in-one solutions as you can: this will save you time and money. Another thing to look out for is how well tools and apps will fit in with your busy schedule. Many business tools are available as mobile apps, which can be really helpful if you’re frequently on the go.

Make sure it’s something you enjoy
Many of us can find it hard to motivate ourselves to work outside our paid hours. If you’re going to start a sideline business, you’re unlikely to give it the attention it needs if you’re not really engaged with it. This is why so many side hustles are hobbies people already enjoy – if something already brings you pleasure, the idea of doing more of it (alongside more administrative tasks) won’t fill you with horror!

Set goals (and check in with them)
It’s better to start small and have manageable goals to work towards than to give a side hustle everything you’ve got, only for it to not work out. Decide what milestones you want to reach, and what you want to do when you get there, and check back regularly to see how you’re doing. For example, if you want to start listing products once you’ve got at least 10 in stock, make a note of this, and try to keep to your plan! Checklists can be helpful for this: we’ve created one to help you stay on top of the online side of your business.

Learn by doing
Whatever happens, don’t be too hard on yourself! One of the best things about a side hustle is that it can involve more trial and error, thanks to the fact that it probably isn’t your main source of income. As you’re limited on time, it’s better to dive into something and then find that it doesn’t work than to spend months planning something – only to find out that it doesn’t work. Make a plan and set goals quickly, then go straight into finding out what works and what doesn’t. 


Side hustles are a great way to make a little extra money, share a hobby, make a difference or test the waters when it comes to starting a business, so it’s no wonder so many people are going down this route! They offer a huge amount of flexibility without the commitment of leaving a job to start a business, and this is definitely a good thing. As with anything, there are things to be wary of: burnout, financial problems and issues with maintaining an existing job can all come into play if you aren’t mindful of avoiding them. Taking the time to check in with yourself and your situation on a regular basis is essential; if you do this, you might find that you feel more fulfilled than ever. Your bank account may well end up thanking you too!

If you’re starting any kind of business (side hustle or otherwise), it’s important to have a way for people to find you and see what you can do. Why not try Go Sitebuilder free today?

How to take great product photos

Product photography tips

Following on from our blog on how to write great product descriptions, we’ve rounded up our top tips for taking great images to match. When you’re selling products online, it’s absolutely vital to show them off with professional-looking, accurate images. A well-taken set of photos will immediately instil trust in your customers and make them more likely to purchase. While descriptions are great for explaining the ins and outs of a product and winning over customers, 90% of the information we absorb is visual. More than that, 93% of consumers consider appearance to be the most important thing when making a decision!

Choose your camera

The good news is that you don’t need to splash out on a big, swanky camera to take great product photos! Most modern smartphones have great cameras these days – and if yours doesn’t, you probably know someone whose does, who’d be willing to let you use it for an afternoon in exchange for a cup of coffee/chat/evening of babysitting. For more tips, Hubspot have a great guide to taking good photos on your phone.

Name your images

Give your product twice as much chance of showing up in search results by giving it a relevant title. It’s unlikely that many people will search for ‘image123456.jpg’ – and if they do, they probably aren’t looking for your image! Use concise, clear terminology to help people to find you. This will also help search engines to index your image, as well as providing a backup description if your image doesn’t load for some reason.

Consistency is key

The key thing to consider is uniformity; always try and shoot your images in the same style. This will ensure that the customer has a clear idea of what the products look like, and make your online store front look really professional.

Pick your light

Avoid fluorescent overhead lighting – nobody looks good under this, and that goes for inanimate objects too! Natural light is normally a safe bet, so try to shoot in this wherever possible. The light changes dramatically throughout the day, so pick a time when you like the light and try to always shoot at around the same time.

Use multiple images

Just as you need to make sure your written descriptions help customers to really get an idea of your products, you should also include enough of the right images to help people get a feel for them. You’ve probably noticed that most online stores include product shots from multiple angles and this is why – the majority of customers need to know that they aren’t missing any details by not being in a physical store and seeing a product for themselves. This also applies to product variations: if you have a product in multiple colours or sizes, always show them all!

Give an idea of scale

Hopefully you’ve provided the technical specifications of your products, but unless your customers have a tape measure to hand, they might want a more tangible idea of how big something is. You can help by providing a point of comparison: if your product can be held in your hand, think about including a photo of this; if it’s designed to be worn, show it on a person; if it’s something you put in your home or garden, include a photo of it in situ. This will help your customers to make an informed decision and help you to avoid having to deal with complaints when a product arrives and is a different size from the one they were expecting!

Create professional backgrounds

You can create a sleek, uniform background for your products by taping a large sheet of white paper between the wall and the surface your products are on, to form a curve or sweep. This creates a really professional look, and gets rid of any annoying unwanted background marks or shadows!

If you keep these tips in mind and get into the habit of following them, you’ll be on your way to having an online store to rival the best of them! A little effort and consistency goes a long way, and will ensure that you’re never selling your products short. 

If you don’t have an online store yet, you’re in luck: a Go Sitebuilder subscription includes an online store (with unlimited product listings!) and much more – for less than the price of a coffee a week. Sign up for a free trial today and put your newfound product photography skills to use!

How to write effective product descriptions

When shopping online, your customers are relying on you to give them a clear, informative and persuasive picture of your products, as they can’t get a feel for them in the same way as they might in a bricks-and-mortar store. We’ve rounded up some top tips for creating effective product descriptions to help your products sell and make your store a success.

Define your target audience

Who are you trying to win over? In an ideal world, you would have customers from all demographics and all walks of life, but chances are there’s one group of people who are more likely to buy your product. Think about what kind of language they would and wouldn’t engage with, and keep this in mind when you’re writing. For example, if your target audience is people over the age of 50, they probably aren’t going to be overly receptive to slang words or excessive familiarity; however, if you’re targeting millennials, they’ll be more receptive to this style of language.

Tell a story

Did you decide to create a product because you needed it and realised it didn’t exist yet? Did you already make it, and decide to start selling it because it was your grandma’s favourite? Many products have a story behind them, and this is a great way to gain customers’ trust and engage them. It doesn’t have to be long, but a personal touch in a product description can go a long way. 

Explain the results and benefits

Rather than just explaining what’s good about a product, explain why it’s good. If you’re selling a travel mug with a rubber sleeve, for example, what does this sleeve do? Chances are, it makes it easy to carry the mug on the go! Wherever possible, include this kind of justification so that your customers know exactly how they can benefit from the features you’ve put time and effort into!

Create evocative descriptions

Sensory words (e.g. ‘feels’,’ sounds’, ‘looks like’) are really effective when it comes to making sales. Always use these where you can – although don’t fall into the trap of using them where they’re really not relevant!

Don’t forget the product specifications

It’s easy to get bogged down in the stylistic elements of creating a product description, but don’t forget to include the basics! Make sure you supply product dimensions, care instructions and other details as applicable for each product.

Use relevant keywords

It goes without saying that people need to be able to find your store for you to make sales. Using relevant, SEO-boosting keywords will help your website to show up on Google, so that people searching for products like yours will end up in the right place (on your website!).

Include reviews

Nothing breeds trust like trust. Wherever possible, include positive reviews on your product listing pages – either with the tried-and-tested star rating system or just as quotes from satisfied customers. If you don’t have any reviews to hand yet, try asking customers for feedback – although make sure you’re complying with GDPR and only contacting them if it’s okay to do so. This article has some great tips on how to get reviews, so you can start building that trust straight away.

Keep these guidelines in mind and you’ll have a simple format to follow for all your product descriptions. As with all creative business activities, you’ll find your own style, but these are things you should always try to include. A little effort will go a long way, and you’ll soon find your products flying off the virtual shelves!

If you don’t have an online store yet, you’re in luck: a Go Sitebuilder subscription includes an online store (with unlimited product listings!) and much more – for less than the price of a coffee a week. Sign up for a free trial today and put your newfound product listing expertise to use!