A guide to website sections

Website building entrepreneur

With sections, it’s easier than ever to create your own website. But what is a section? And what are all the different sections for? In short, a section is a pre-made building block, and you can use them in any combination to create your website. They’re all customisable, so you still have the freedom to make your website your own, but we’ve done some of the legwork for you! To make things even simpler, we’ve created a guide to the different types of sections we offer:
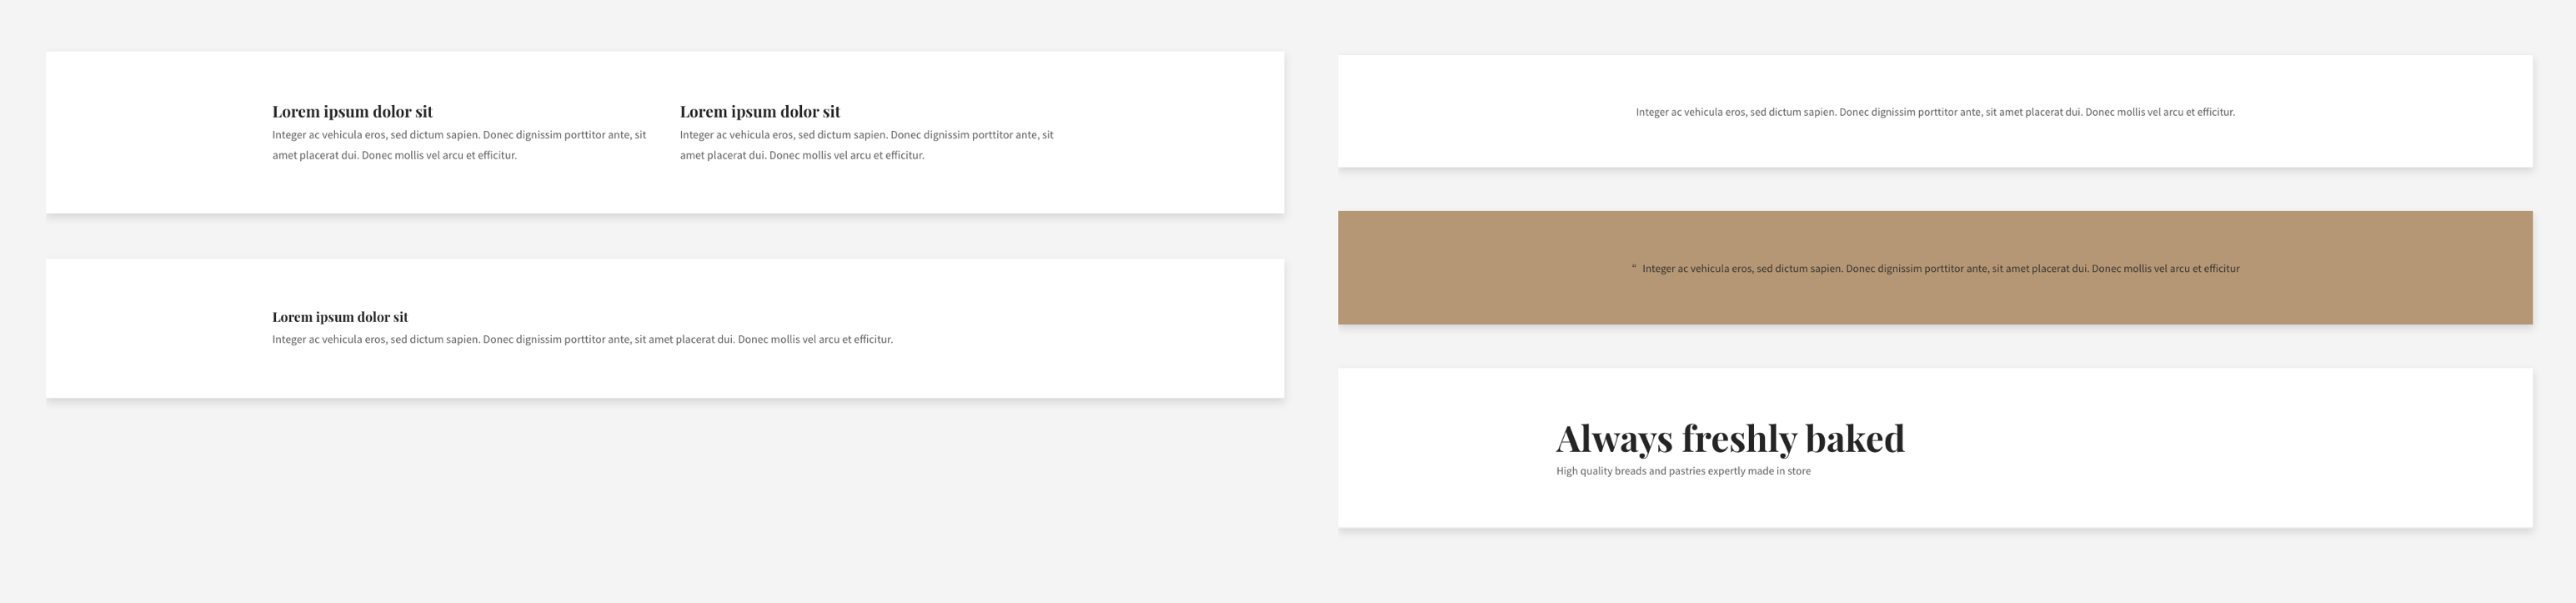
Hero

Hero section

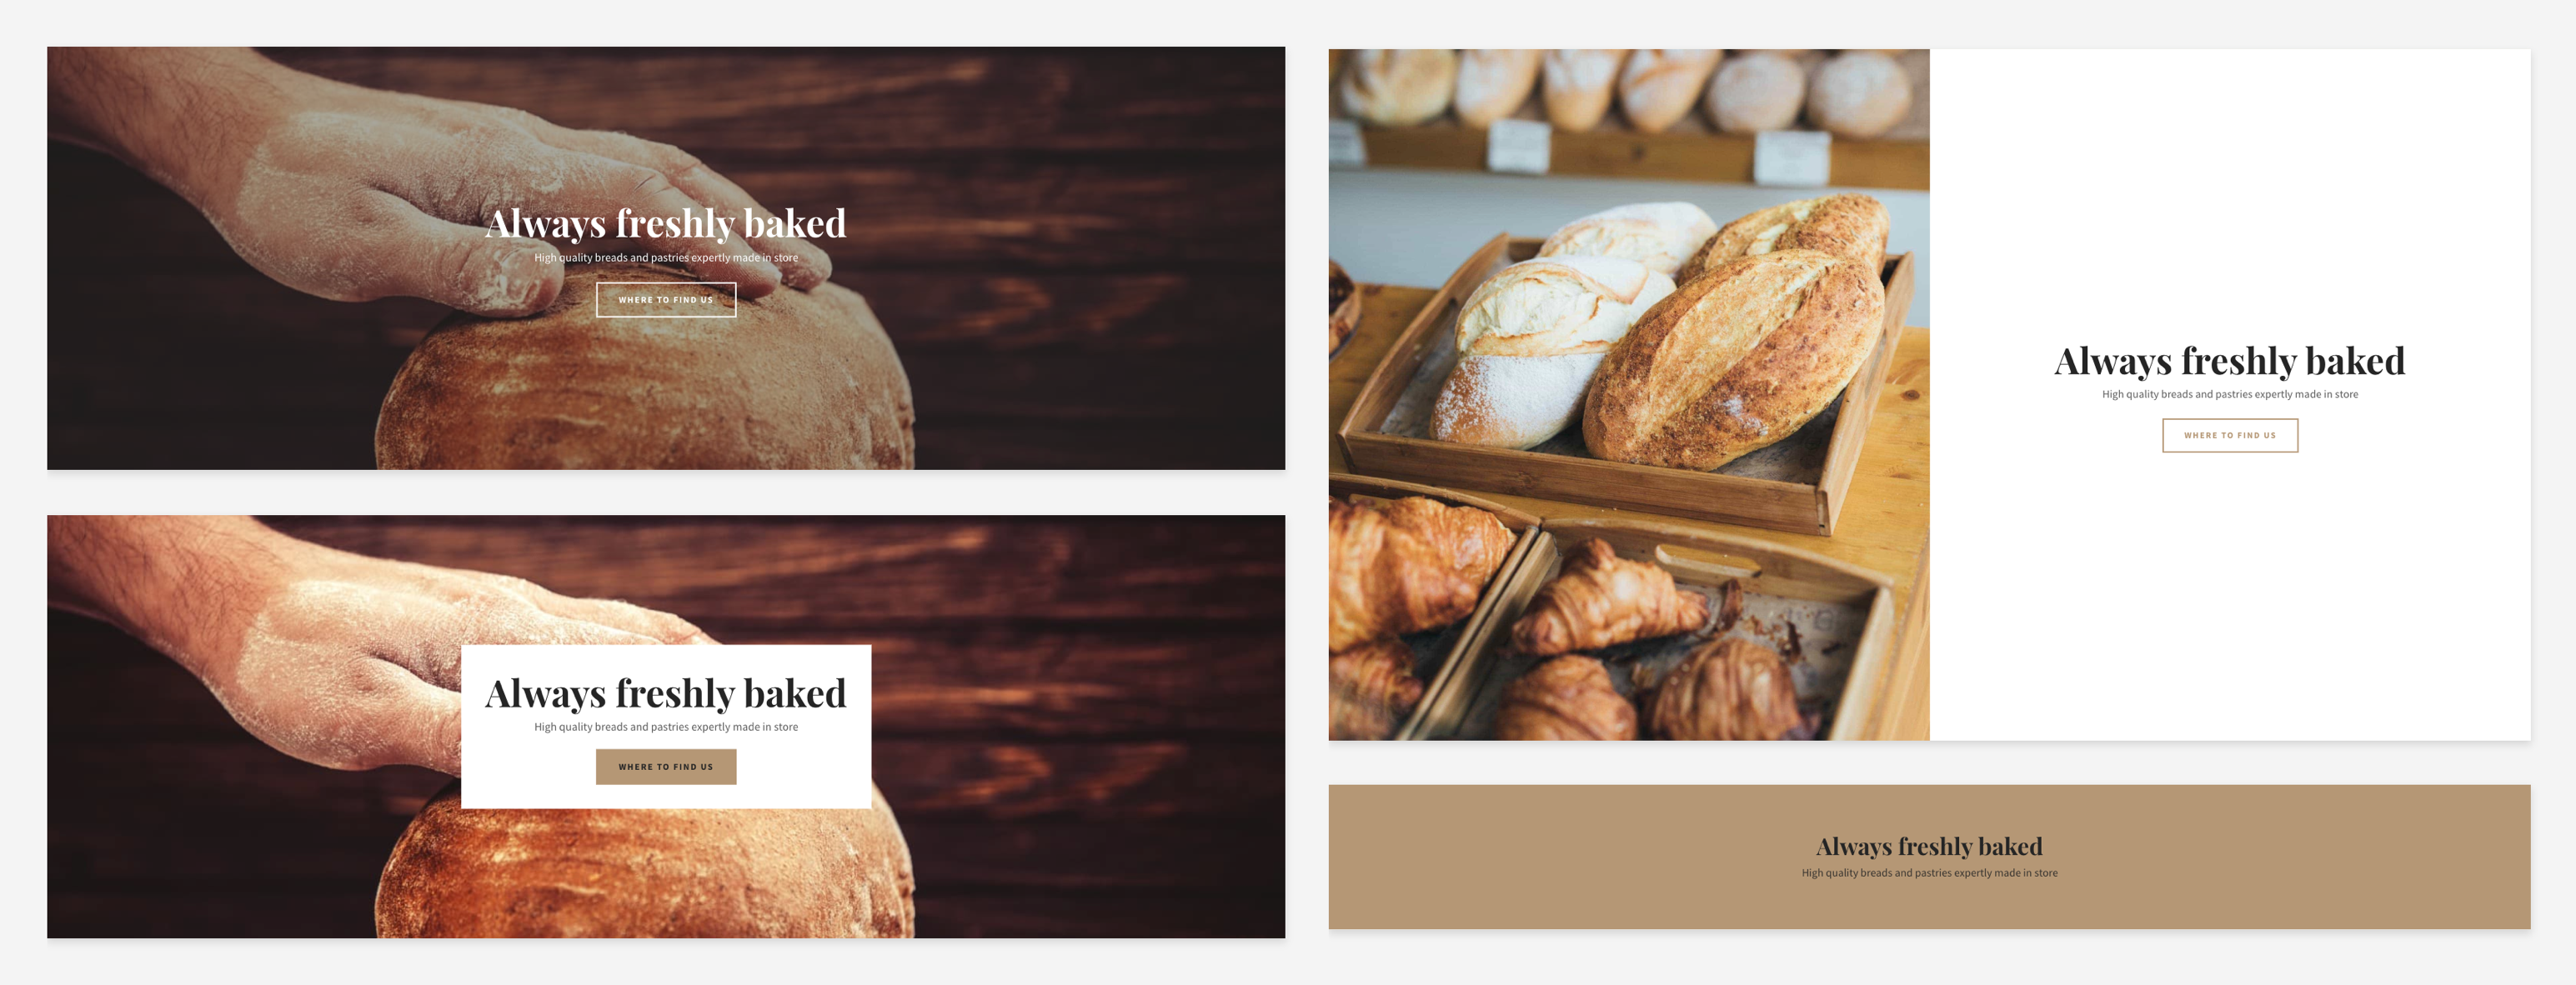
The hero section is just as important as it sounds! It’s generally the biggest, most impactful thing people will see when they first enter your website, so it should contain key information, such as your company name, a short strapline and the most relevant call-to-action buttons, such as ‘Shop now’ or ‘Contact’.

Image and text

Image and text

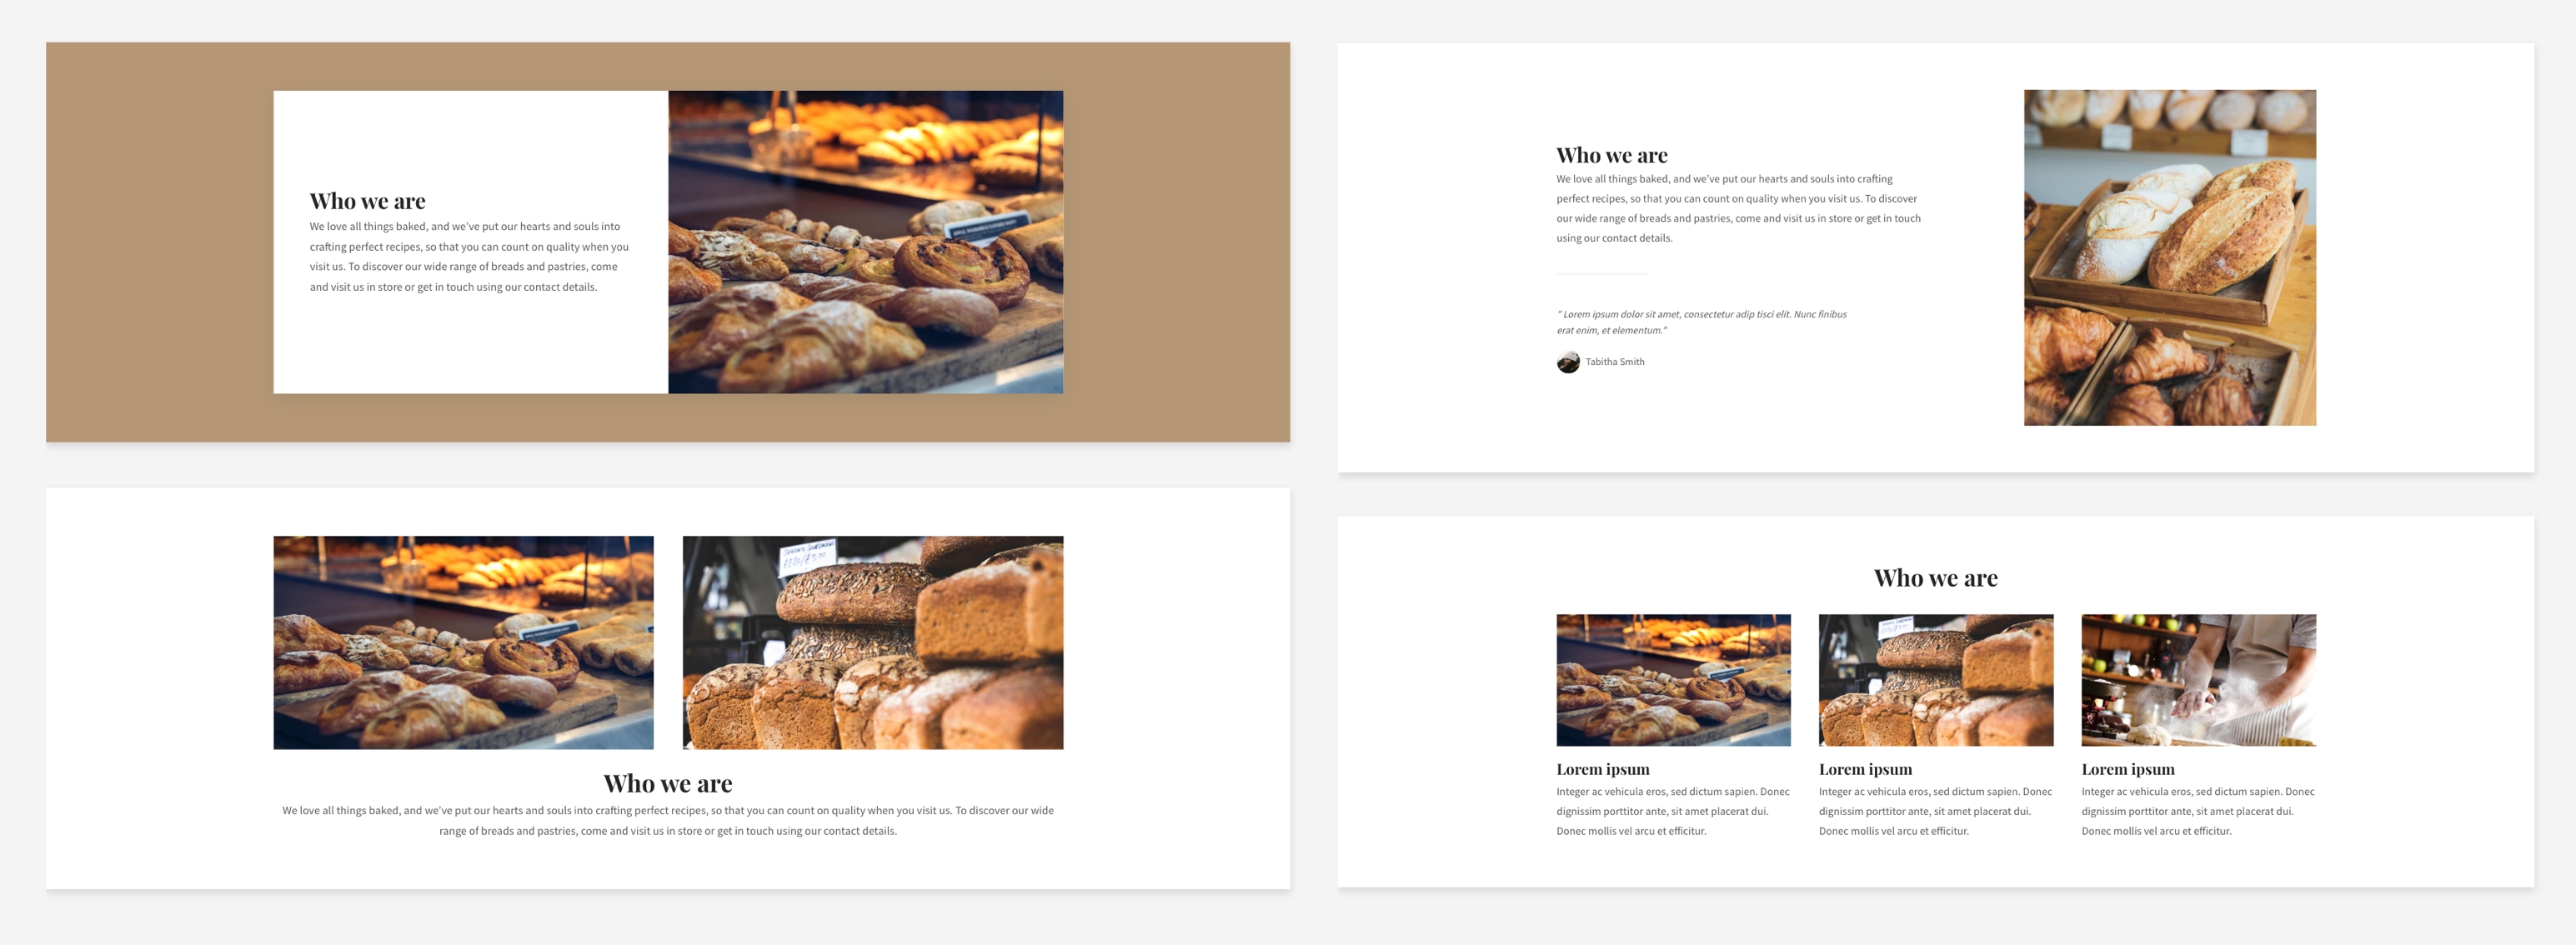
This one does what it says on the tin – it allows you to add an image/text combination. This is great for when you want to show an image of what you’re writing about, or just for keeping a page visually engaging. If it’s the latter you’re aiming for and you don’t have a specific image in mind, this is a great place to make use of our stock image library.

Text

Text

This category covers many types of text, from paragraphs to headers and more, allowing you to really add personality to your website. Whenever you want to add some text by itself, this is the section you’ll need. You can customise it completely, from font to layout, and – most importantly – content! Take a look at guides like this for more advice on creating great content. 

Image

As with the text section, this is for when you want to add an image by itself. This could be a photo of your products on your homepage, a photo of you on the ‘About’ page or a (relevant) stock image to break things up. Studies show that images are a great way to keep things engaging, so image sections will allow you to do just that.

Gallery and slideshow

Gallery and slideshow

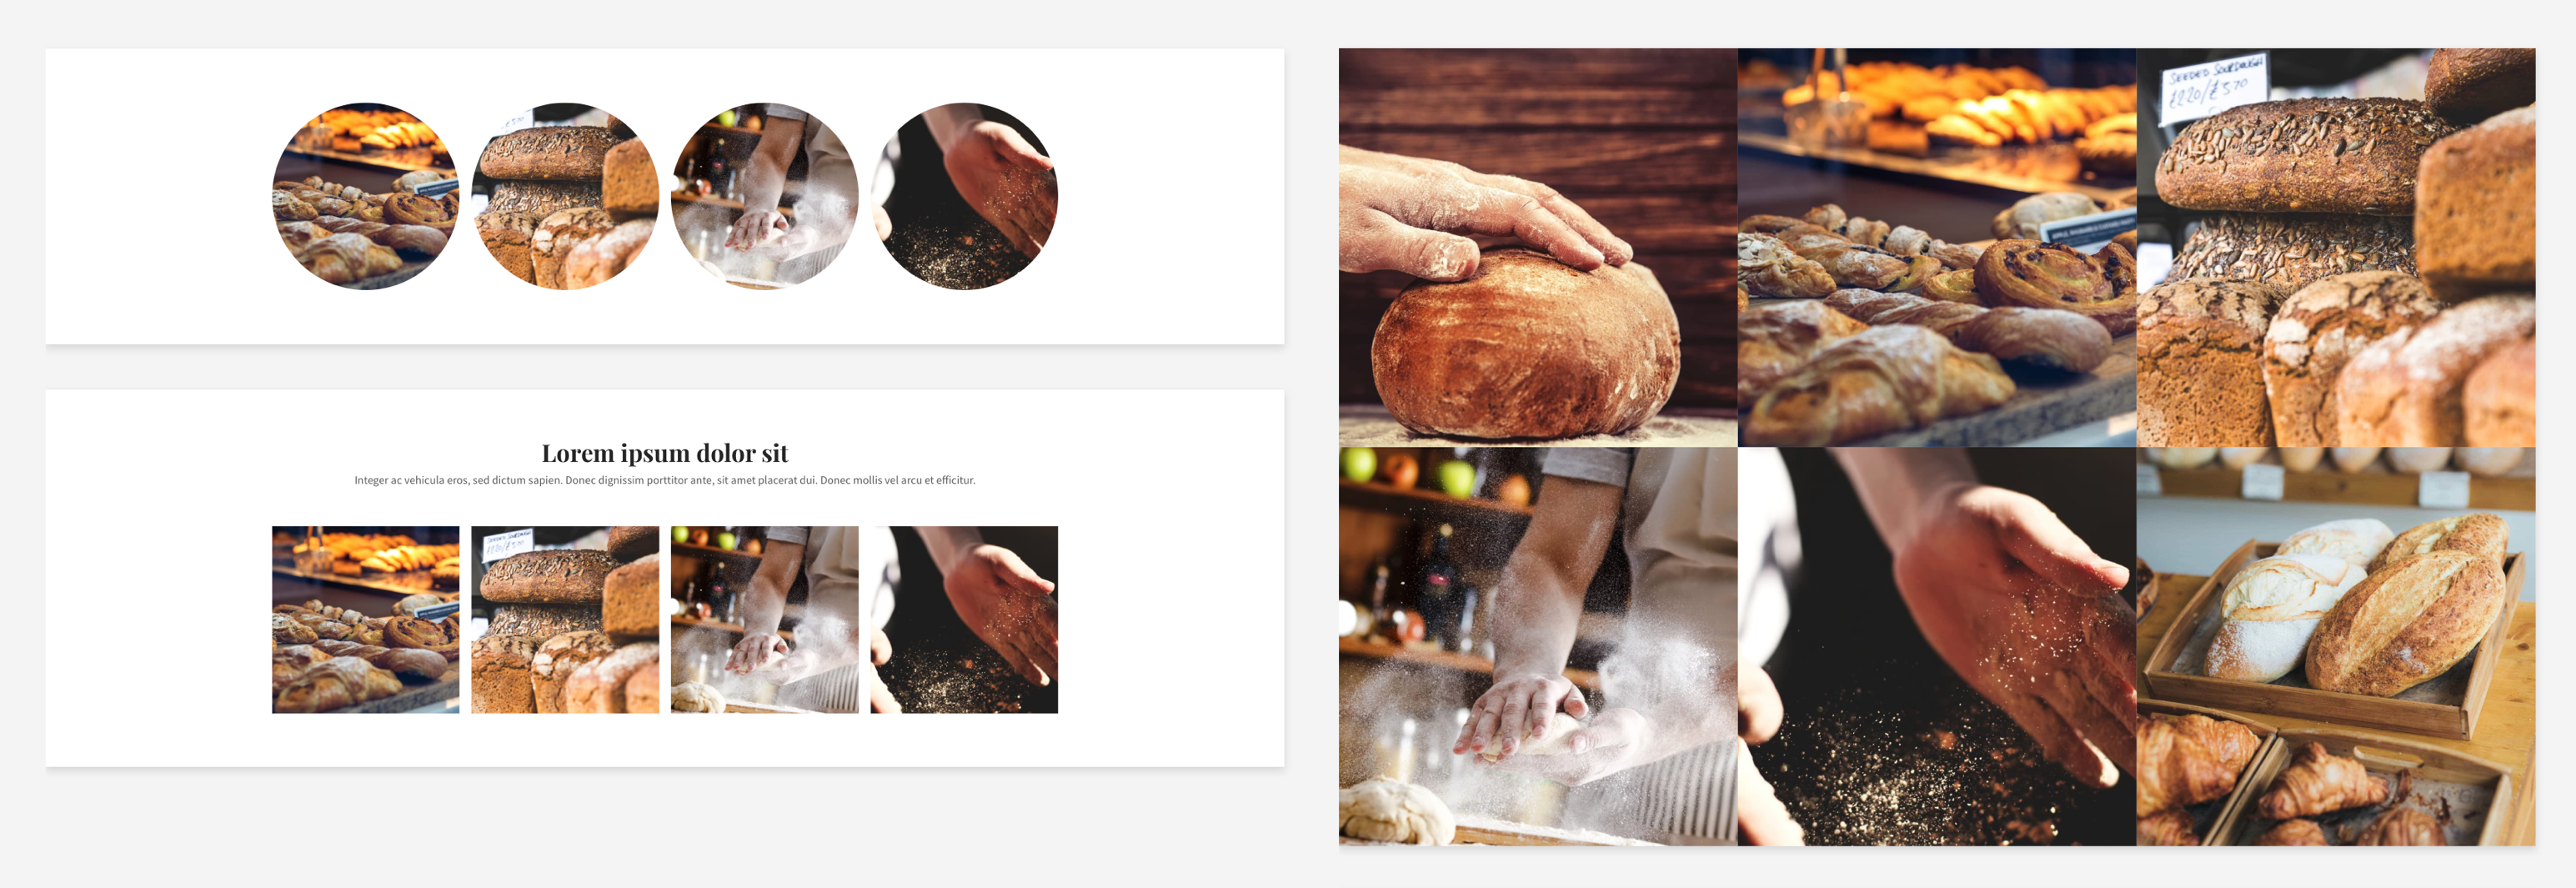
Especially good for showing off products or behind-the-scenes action, we have a range of different gallery and slideshow sections, so you can choose your favourite eye-catching display format.

Form

A great way to keep people updated and engaged is to create a mailing list. Putting a simple signup form on every page will allow them to add their email address in seconds. You can also add a larger form, allowing people to contact you with questions.

Contact

Contact map

You can provide as much or as little information as you like with a contact section. If you have a bricks-and-mortar location, the map feature will help people to find you, while email address, phone number and an additional contact form can all provide easy ways for people to get in touch.

Promotional

Highlight your store, products or special offers with promotional sections placed anywhere on your website. This is a great way to grab people’s attention while they’re browsing!

Social

Social media and a website are best when used together. Make sure people can find your social media easily with social sections. You can also use this to link to reviews on sites like Yelp.

Page title

As you might guess, this section lets you name each page. It almost always makes sense to have this at or near the top of your website. You can easily customise the fonts and colours here to go with the rest of your website and branding.

Video and audio

Video and audio

Using video on a landing page can increase conversion rates by a massive 80%. Easily include videos, with or without an introduction. If you have a YouTube channel, you can include your latest videos, or you can include a video of your products in action to show them off in your store.

Files

Anything people need to download from your website, from forms to instruction guides, can be included in this style of section. You can either put it right after the mention of a file or throughout the website to encourage people to access it.

Embed

If you have any code you want to include to add custom features or third-party services (like SoundCloud or booking forms) to your website, this is the section you can use. As with other sections, it can be placed wherever you want. The possibilities are endless!

Logos

Logos

Include logos anywhere on your website to show off partnerships, products you use or companies you’ve worked with. This is a great way to build trust!
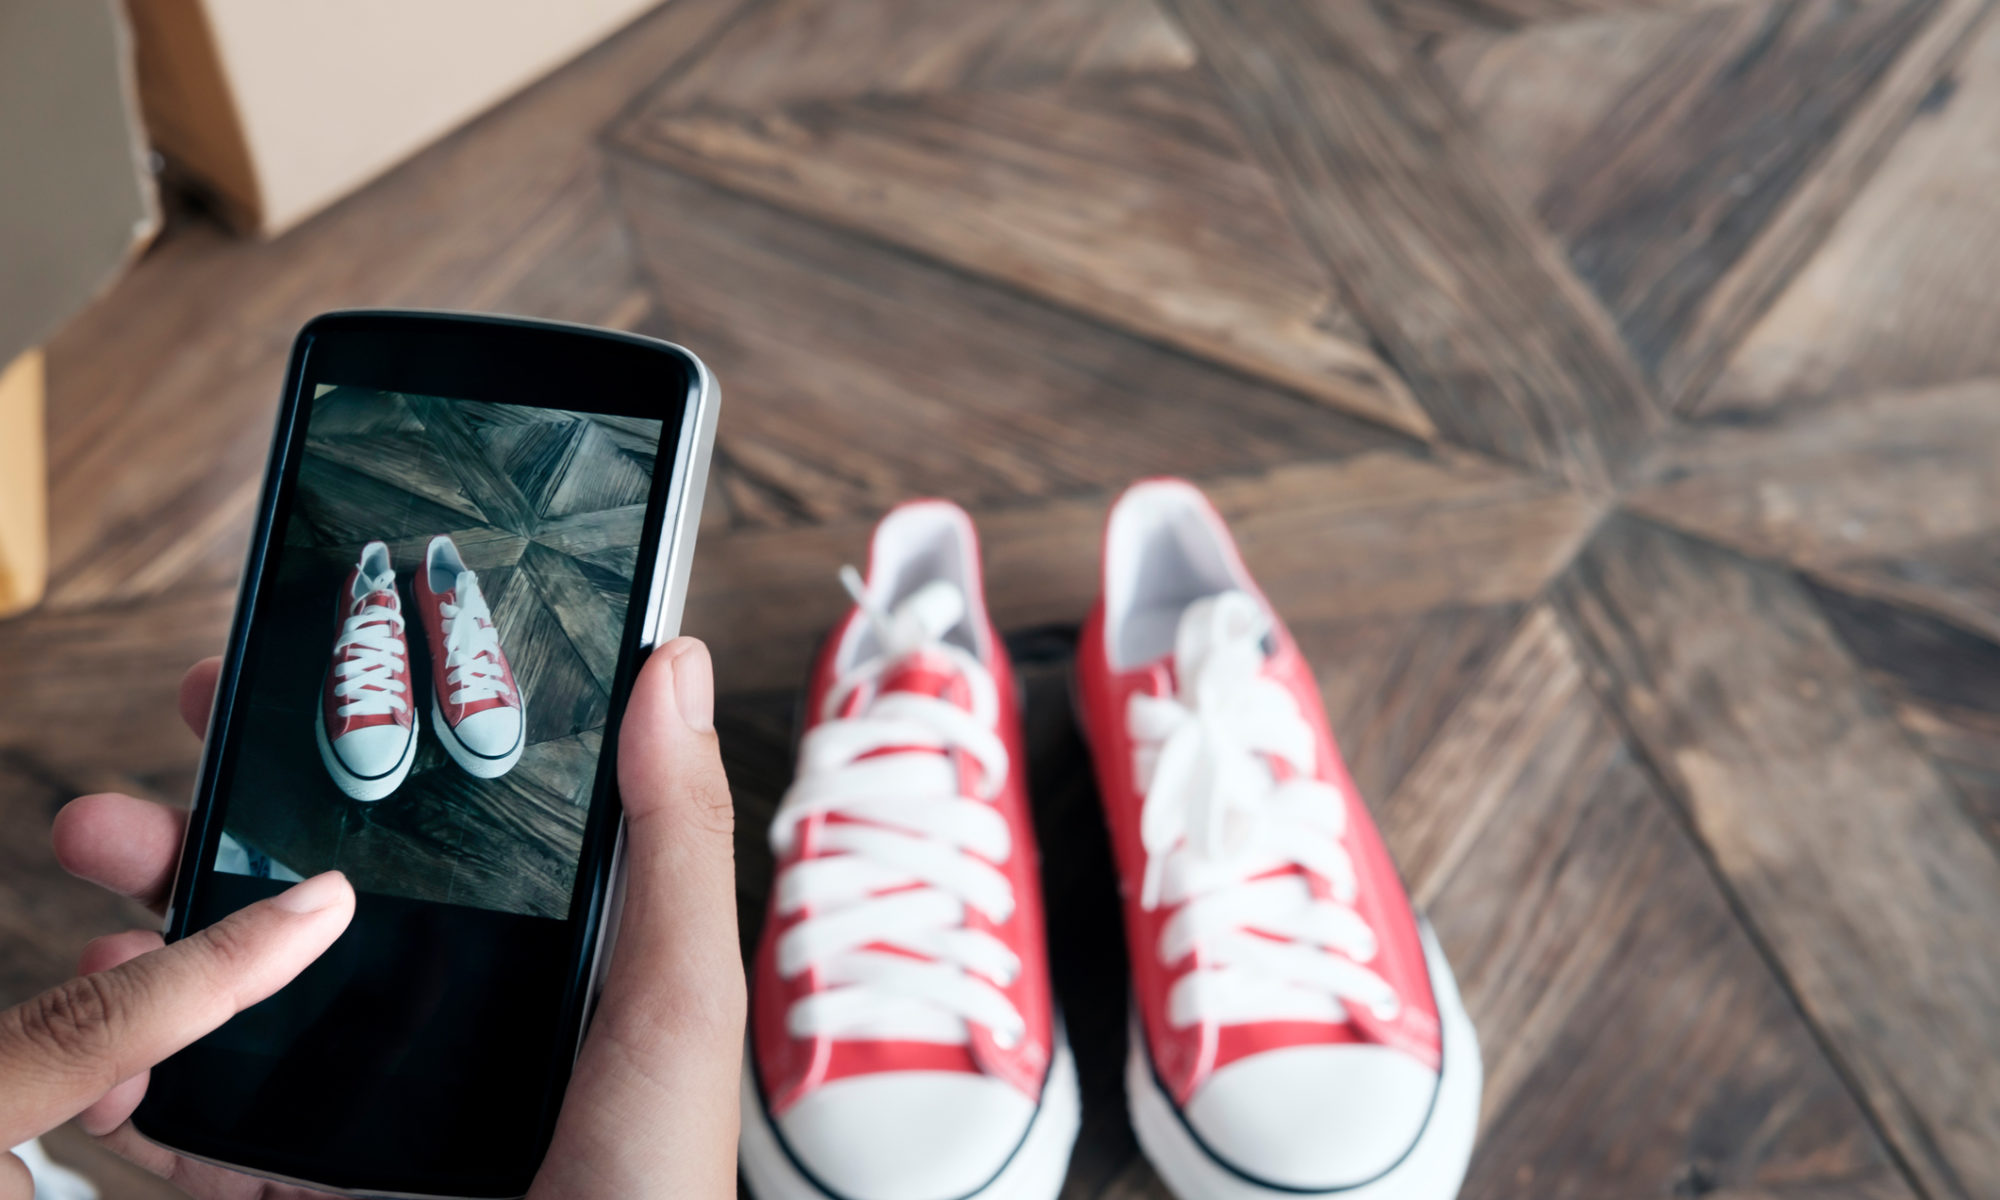
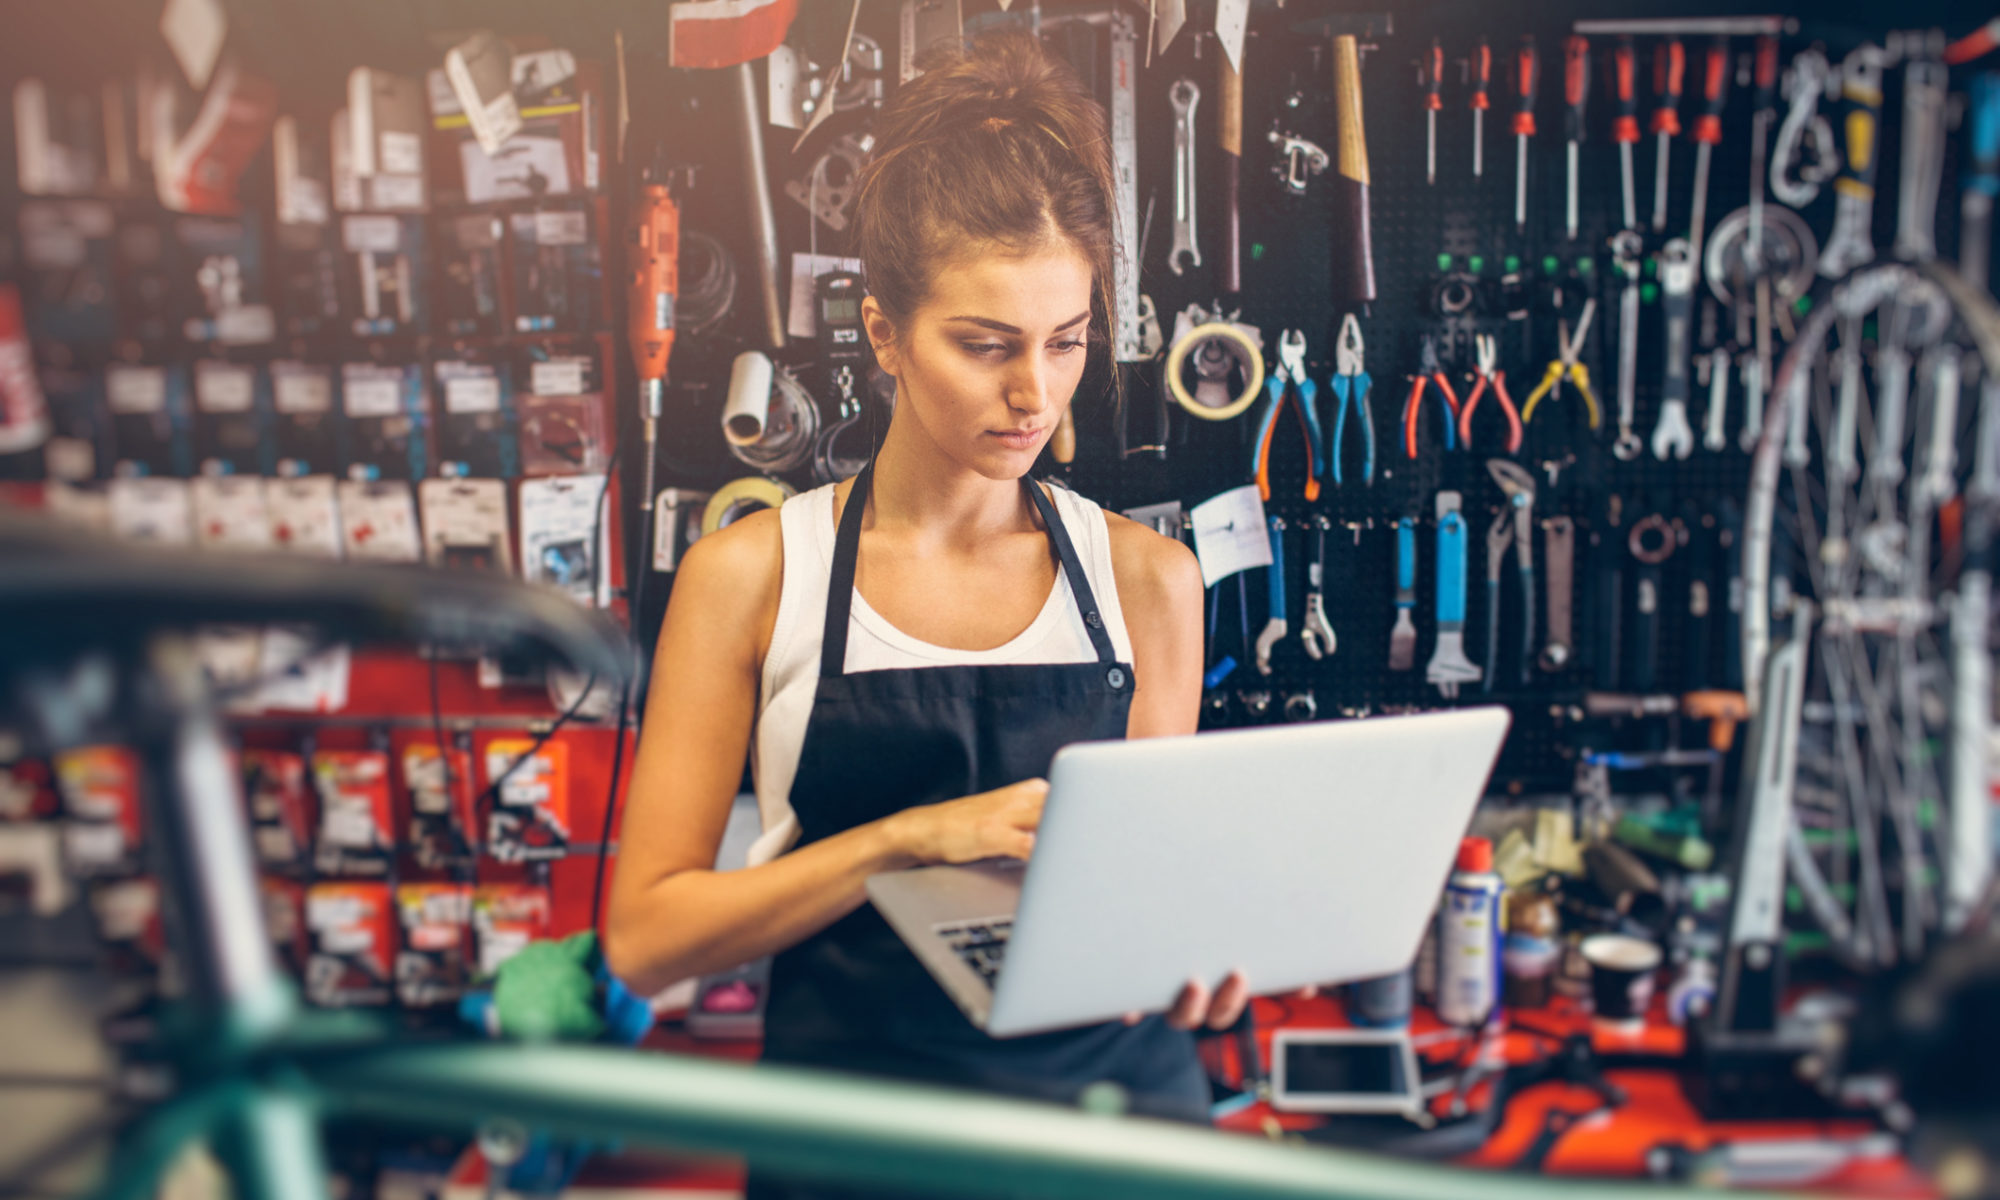
Store

If you have an online store on your website, sales-boosting sections can make all the difference. Featured products and ‘basket’ sections are a great way to get people engaged and to turn visitors into customers! It’s often a good idea to place these at the top for easy access, but you can experiment with different placements and see what works best for you.

PayPal

Our PayPal sections make it really easy for your customers to purchase from your store. With different design options, you can make these sections fit in with your website’s overall look.

Blog

Feature your latest blog posts anywhere on your website to capture people’s attention while they browse, so they never miss an update.

So there you have it: a guide to all the sections you need to create your perfect website! We’re always listening to feedback and adding exciting new things to our website builder, so we’ll be sure to keep this guide updated as this happens. If you haven’t created your website yet, why not try a free trial? Happy sitebuilding!

How to make your side hustle work

Side hustle small business

What is a side hustle?

You may have heard this phrase making the rounds lately – unsurprisingly, as more and more people are starting side hustles. If so, you’d be forgiven for not knowing exactly what it is! In reality, it’s pretty simple: any business running alongside a job or main business counts as a side hustle. 

For some people, a side hustle can be a useful supplement to a main role, while for others a conventional job may actually end up coming second. For these people, the side hustle might be their passion, and the thing they spend most of their time doing, but a more ‘traditional’ job might be what allows them to pay the bills – even just a few days a week.

How do you make a side hustle successful?

Just like the time-old question of ‘what makes a business successful?’, there’s no easy answer to this one. Generally speaking, the amount of time you put into anything will be reflected by how much you get out of it. This might be totally fine by you! This is the beauty of a side hustle: it can be as big – or as small – a part of life as you want it to be. 

Once you’ve decided how much you want to get out of your side hustle, however, there are a few things you can do to maximise your chances of success (and of being able to continue hustling):

Test it out
Before you do much at all, it’s a good idea to test your idea out on friends and family. Even business masterminds like Richard Branson sometimes need a fresh pair of eyes to make them see their idea differently! You’re already working, so you don’t want to waste any of your valuable spare time on something inherently flawed. Letting other people try out your product will give them a chance to give you feedback in a non-pressured environment, so you can iron out any kinks early on and save yourself time in the future.

Don’t give up (on) your day job
You’re starting a side hustle for a reason, so make sure it stays just that – at least for now. Don’t stop putting any effort into your day job, even if your priorities have shifted. Your reasons for doing this alongside your job still stand, whether they’re financial or personal, so you definitely don’t want to alienate your employers or start delivering sub-par work; this will benefit nobody! Be respectful of your employers and colleagues, as well as the importance of what your job gives you, and work on your side hustle when you can.

Don’t forget your own wellbeing
We’re big believers in work-life balance and the importance of not letting your work ruin your life – whatever it may be. There’s a real danger of becoming overworked when you have a side hustle, so it’s more important than ever to set parameters around your working patterns. Use the time you have wisely, but don’t feel you have to spend every spare minute working on it, or you’ll likely burn out. If you burn out, you’re less likely to be able to maintain your side hustle anyway, so it would all be for nothing!

Invest in the important things
Just as it’s important to take care of your wellbeing, it’s also important to take care of your bank account. It’s unwise to pour all your money from one job straight into another! Think about what will help you the most, and spend your money there. Is it a website, for visibility and legitimacy? Is it a physical workspace? Whatever it is, make sure it’s worthy of your hard-earned money!

Get the tools you need
Some of the things you invest in should make your life easier and give you the best chance of success. Technology can be essential for side hustlers: a website, for example, will give you a way to share your products with the world. A website with an online store included will let you make sales straight away, while an included domain name and email address will take you right from hobbyist to professional in one fell swoop! Try to find as many all-in-one solutions as you can: this will save you time and money. Another thing to look out for is how well tools and apps will fit in with your busy schedule. Many business tools are available as mobile apps, which can be really helpful if you’re frequently on the go.

Make sure it’s something you enjoy
Many of us can find it hard to motivate ourselves to work outside our paid hours. If you’re going to start a sideline business, you’re unlikely to give it the attention it needs if you’re not really engaged with it. This is why so many side hustles are hobbies people already enjoy – if something already brings you pleasure, the idea of doing more of it (alongside more administrative tasks) won’t fill you with horror!

Set goals (and check in with them)
It’s better to start small and have manageable goals to work towards than to give a side hustle everything you’ve got, only for it to not work out. Decide what milestones you want to reach, and what you want to do when you get there, and check back regularly to see how you’re doing. For example, if you want to start listing products once you’ve got at least 10 in stock, make a note of this, and try to keep to your plan! Checklists can be helpful for this: we’ve created one to help you stay on top of the online side of your business.

Learn by doing
Whatever happens, don’t be too hard on yourself! One of the best things about a side hustle is that it can involve more trial and error, thanks to the fact that it probably isn’t your main source of income. As you’re limited on time, it’s better to dive into something and then find that it doesn’t work than to spend months planning something – only to find out that it doesn’t work. Make a plan and set goals quickly, then go straight into finding out what works and what doesn’t. 


Side hustles are a great way to make a little extra money, share a hobby, make a difference or test the waters when it comes to starting a business, so it’s no wonder so many people are going down this route! They offer a huge amount of flexibility without the commitment of leaving a job to start a business, and this is definitely a good thing. As with anything, there are things to be wary of: burnout, financial problems and issues with maintaining an existing job can all come into play if you aren’t mindful of avoiding them. Taking the time to check in with yourself and your situation on a regular basis is essential; if you do this, you might find that you feel more fulfilled than ever. Your bank account may well end up thanking you too!

If you’re starting any kind of business (side hustle or otherwise), it’s important to have a way for people to find you and see what you can do. Why not try Go Sitebuilder free today?

How to take great product photos

Product photography tips

Following on from our blog on how to write great product descriptions, we’ve rounded up our top tips for taking great images to match. When you’re selling products online, it’s absolutely vital to show them off with professional-looking, accurate images. A well-taken set of photos will immediately instil trust in your customers and make them more likely to purchase. While descriptions are great for explaining the ins and outs of a product and winning over customers, 90% of the information we absorb is visual. More than that, 93% of consumers consider appearance to be the most important thing when making a decision!

Choose your camera

The good news is that you don’t need to splash out on a big, swanky camera to take great product photos! Most modern smartphones have great cameras these days – and if yours doesn’t, you probably know someone whose does, who’d be willing to let you use it for an afternoon in exchange for a cup of coffee/chat/evening of babysitting. For more tips, Hubspot have a great guide to taking good photos on your phone.

Name your images

Give your product twice as much chance of showing up in search results by giving it a relevant title. It’s unlikely that many people will search for ‘image123456.jpg’ – and if they do, they probably aren’t looking for your image! Use concise, clear terminology to help people to find you. This will also help search engines to index your image, as well as providing a backup description if your image doesn’t load for some reason.

Consistency is key

The key thing to consider is uniformity; always try and shoot your images in the same style. This will ensure that the customer has a clear idea of what the products look like, and make your online store front look really professional.

Pick your light

Avoid fluorescent overhead lighting – nobody looks good under this, and that goes for inanimate objects too! Natural light is normally a safe bet, so try to shoot in this wherever possible. The light changes dramatically throughout the day, so pick a time when you like the light and try to always shoot at around the same time.

Use multiple images

Just as you need to make sure your written descriptions help customers to really get an idea of your products, you should also include enough of the right images to help people get a feel for them. You’ve probably noticed that most online stores include product shots from multiple angles and this is why – the majority of customers need to know that they aren’t missing any details by not being in a physical store and seeing a product for themselves. This also applies to product variations: if you have a product in multiple colours or sizes, always show them all!

Give an idea of scale

Hopefully you’ve provided the technical specifications of your products, but unless your customers have a tape measure to hand, they might want a more tangible idea of how big something is. You can help by providing a point of comparison: if your product can be held in your hand, think about including a photo of this; if it’s designed to be worn, show it on a person; if it’s something you put in your home or garden, include a photo of it in situ. This will help your customers to make an informed decision and help you to avoid having to deal with complaints when a product arrives and is a different size from the one they were expecting!

Create professional backgrounds

You can create a sleek, uniform background for your products by taping a large sheet of white paper between the wall and the surface your products are on, to form a curve or sweep. This creates a really professional look, and gets rid of any annoying unwanted background marks or shadows!

If you keep these tips in mind and get into the habit of following them, you’ll be on your way to having an online store to rival the best of them! A little effort and consistency goes a long way, and will ensure that you’re never selling your products short. 

If you don’t have an online store yet, you’re in luck: a Go Sitebuilder subscription includes an online store (with unlimited product listings!) and much more – for less than the price of a coffee a week. Sign up for a free trial today and put your newfound product photography skills to use!