The visual aspect of website design can attract or turn away visitors, therefore when creating your website it is important to choose images that create an impact and relate to your brand. Rather than just focusing on the content of the images, however, it’s vital to make sure that you take into account other aspects, such as file type and quality to really highlight your website and make it stand out from your competitors. Here are some considerations we think are really important when ensuring your website leaves a lasting impression.
Think about the quality of your images
The quality of your images can significantly impact the way customers view your website and your brand. High-quality images imply a professional service and instil more trust in your brand for customers than images of low quality. The best ways to achieve high-quality images is either by taking them yourself (see our article on How to Take Great Product Photos) or by using stock images to ensure the quality is high.
Know the type of file you need to use
When adding images to your website it is important to know the type of file you need to use. Generally, this is a choice between a PNG file and a JPG/JPEG file. A PNG file is a larger file, which creates higher quality images than a JPG but can slow your site speed down if used too often. A JPG file, however, is used more frequently as the file size is smaller; the only compromise is that its image quality is slightly lessened.
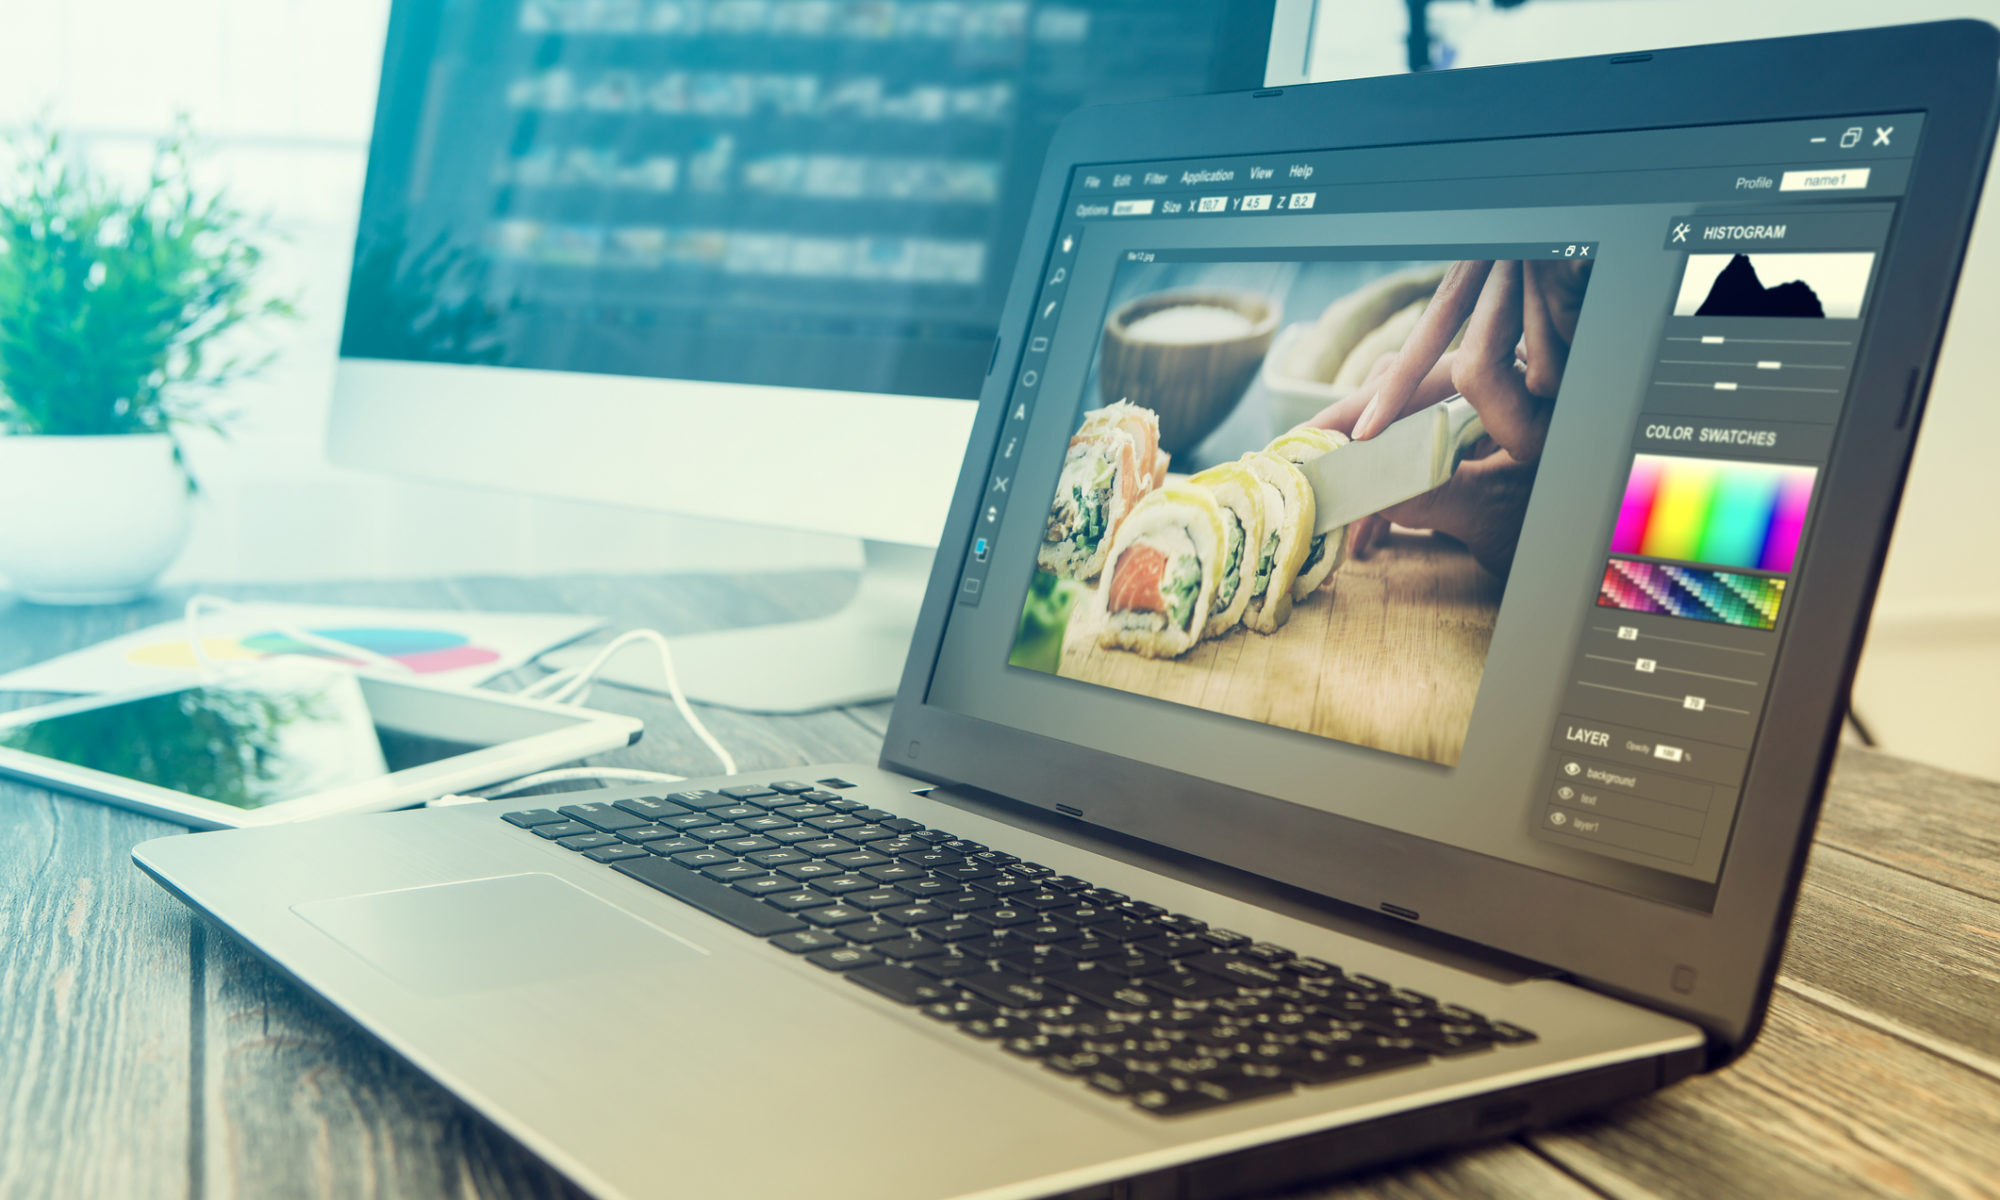
Think about composition
A good website will have images which engage the visitor and mean something to the brand or subject matter. Therefore the composition (how the image is ‘staged’ and shown to the viewer) should be taken into account when selecting your final images. A simple crop can change the focus of an image and make it more relevant when building your website. The built-in image editor on Go Sitebuilder is a perfect addition when cropping your images as you can visualise how small changes can impact how the image is shown on your website.
What about colours, filters and stickers?
Depending on your brand image, aspects such as colours, filters and stickers can portray the personality of your brand. For example, a travel website may benefit from brightly coloured images to show locations in the best light. Whereas a beauty website may have more use for filters.
If you are looking to build a website for your company, then look no further than Go Sitebuilder! Our simple design means you can have a professional-looking website up and running in minutes, and we even have an image editor built into our website editor. Try our 14-day free trial today!